Filtering tables
Table rows of interest can be identified using simple or advanced filtering. To switch between them, click the downwards (![]() ) or upwards (
) or upwards (![]() ) pointing arrow on the right hand side of the filtering area (figure 9.2).
) pointing arrow on the right hand side of the filtering area (figure 9.2).
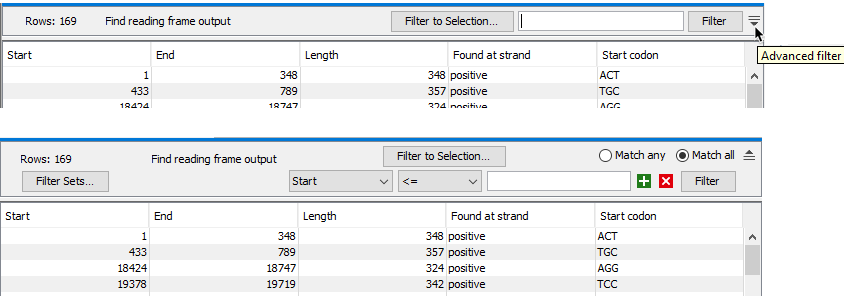
Figure 9.2: Top: Simple filter. Clicking the downwards pointing arrow at the top right corner of the table view reveals the advanced filter options. Bottom: Advanced filter. Clicking the upwards pointing arrow at the top right corner of the table view reveals the simple filter options.
The table view can be limited to show only rows matching the filter by clicking the Filter button. The number of matching rows is reported in the top right corner of the table. Matching rows can also be selected while keeping the full table visible using the Selection... options:
- Select Matches Selects all rows that match the filter.
- Invert Selection Inverts the current selection.
- Filter to Selection Shows only the currently selected rows.
- Clear Filter to Selection Shows all rows. The same can be achieved using Show all.
Interactive filtering affects only the table view and does not modify the underlying table content. Use Filter on Custom Criteria to filter certain element types non-interactively and generate a new table.
Subsections