Installing plugins
Plugins are installed using the plugin manager1.3:
Help in the Menu Bar | Plugins and Resources... (![]() )
)
or Plugins (![]() ) in the Toolbar
) in the Toolbar
The plugin manager has three tabs at the top:
- Manage Plugins. This is an overview of plugins that are installed.
- Download Plugins. This is an overview of available plugins on CLC bio's server.
- Manage Resources. This is an overview of resources that are installed.
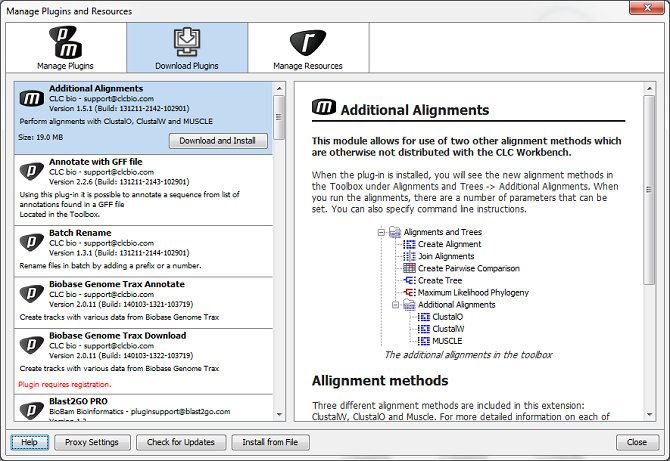
Figure 1.24: The plugins that are available for download.
Clicking a plugin will display additional information at the right side of the dialog. This will also display a button: Download and Install.
Click the plugin and press Download and Install. A dialog displaying progress is now shown, and the plugin is downloaded and installed.
If the plugin is not shown on the server, and you have it on your computer (e.g. if you have downloaded it from our web-site), you can install it by clicking the Install from File button at the bottom of the dialog. This will open a dialog where you can browse for the plugin. The plugin file should be a file of the type ".cpa".
When you close the dialog, you will be asked whether you wish to restart the CLC Cancer Research Workbench. The plugin will not be ready for use until you have restarted.
Footnotes
- ... manager1.3
- In order to install plugins on Windows, the Workbench must be run in administrator mode: Right-click the program shortcut and choose "Run as Administrator". Then follow the procedure described below.