Data export
The exporter can be used to:
- Export bioinformatic data in most of the formats that can be imported. There are a few exceptions (see List of data formats).
- Export one or more data elements at a time to a given format. When multiple data elements are selected, each is written out to an individual file, unless compression is turned on, or "Output as single file" is selected.
The standard export functionality can be launched using the Export button on the toolbar, or by going to the menu:
File | Export (![]() )
)
An additional export tool is available from under the File menu:
File | Export with Dependent Elements
This tool is described further in section 6.5.2.
The general steps when configuring a standard export job are:
- (Optional) Select the data to export in the Navigation Area.
- Start up the exporter tool via the Export button in the toolbar or using the Export option under the File menu.
- Select the format the data should be exported to.
- Select the data to export, or confirm the data to export if it was already selected via the Navigation Area.
- Configure the parameters. This includes compression, multiple or single outputs, and naming of the output files, along with other format-specific settings where relevant.
- Select where the data should be exported to.
- Click on the button labeled Finish.
Selecting data for export - part I. You can select the data elements to export before you run the export tool or after the format to export to has been selected. If you are not certain which formats are supported for the data being exported, we recommend selecting the data in the Navigation Area before launching the export tool.
Selecting a format to export to. When data is pre-selected in the Navigation Area before launching the export tool you will see a column in the export interface called Supported formats. Formats that the selected data elements can be exported to are indicated by a "Yes" in this column. Supported formats will appear at the top of the list of formats. See figure 6.17.
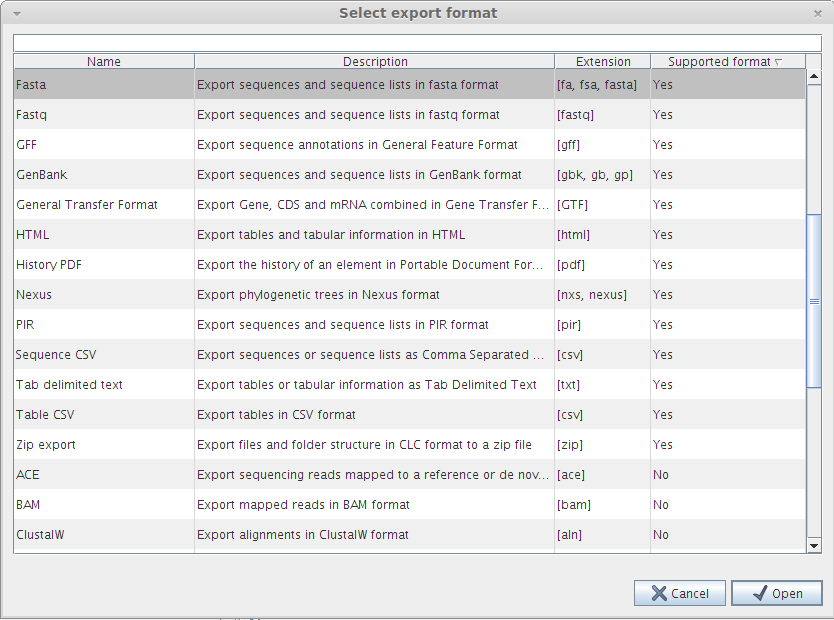
Figure 6.17: The Select exporter dialog where sequence lists were pre-selected in the Navigation Area before launching the export tool. Here, the formats sequence lists can be exported to are listed at the top, with a Yes in the Selected formats column. Other formats are found below, with No in this column.
Formats that cannot be used for export of the selected data have a "No" listed in the Supported formats column. If you have selected multiple data elements of different types, then formats which can be used for some of the selected data elements but not all of them are indicated by the text "For some elements" in this column.
Please note that the information in the Supported formats column only refers to the data already selected in the Navigation Area. If you are going to choose your data later in the export process, then the information in this column will not be pertinent.
Only one export format is available if you select a folder to be exported. This is described in more detail in section 6.5.1.
Finding a particular format in the list. You can quickly find a particular format by using the text box at the top of the exporter window as shown in figure 6.18, where formats that include the term VCF are searched for. This search term will remain in place the next time the Export tool is launched. Just delete the text from the search box if you no longer wish only the formats with that term to be listed.
When the desired export format has been identified, click on the button labeled Open.
Selecting data for export - part II. A dialog appears, with a name reflecting the format you have chosen. For example if the "Variant Call Format" (VCF format) was selected, the window is labeled "Export VCF".
If you are logged into a CLC Server, you will be asked whether to run the export job using the Workbench or the Server. After this, you are provided with the opportunity to select or de-select data to be exported.
In figure 6.19 we show the selection of a variant track for export to VCF format.
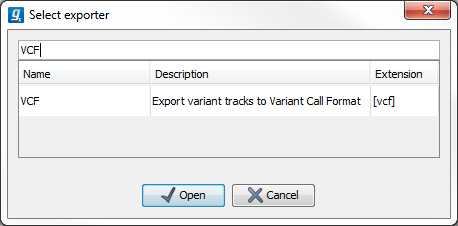
Figure 6.18: The text field has been used to search for VCF format in the Select exporter dialog.
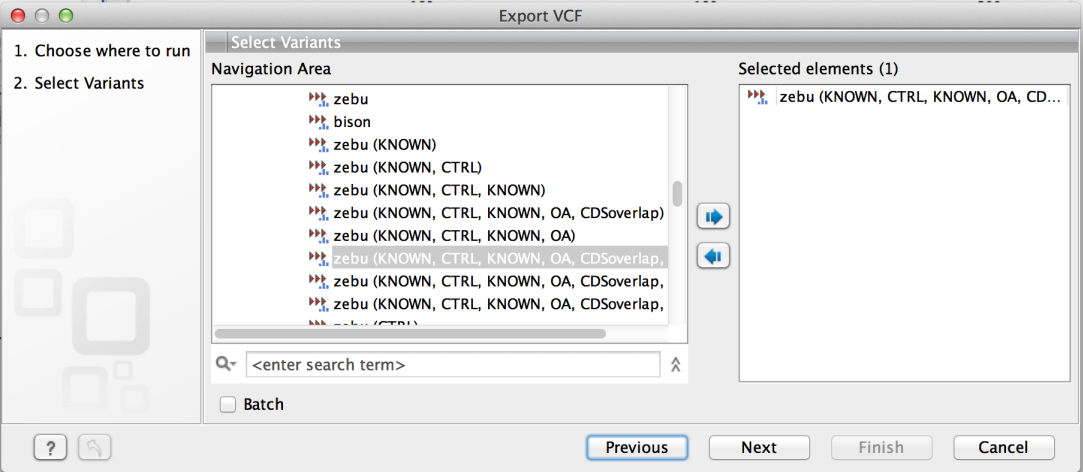
Figure 6.19: The Select exporter dialog. Select the data element(s) to export.
The parameters under Basic export parameters and File name are offered when exporting to any format. There may be additional parameters for particular export formats. This is illustrated here with the VCF exporter, where a reference sequence track must be selected. See figure 6.20.
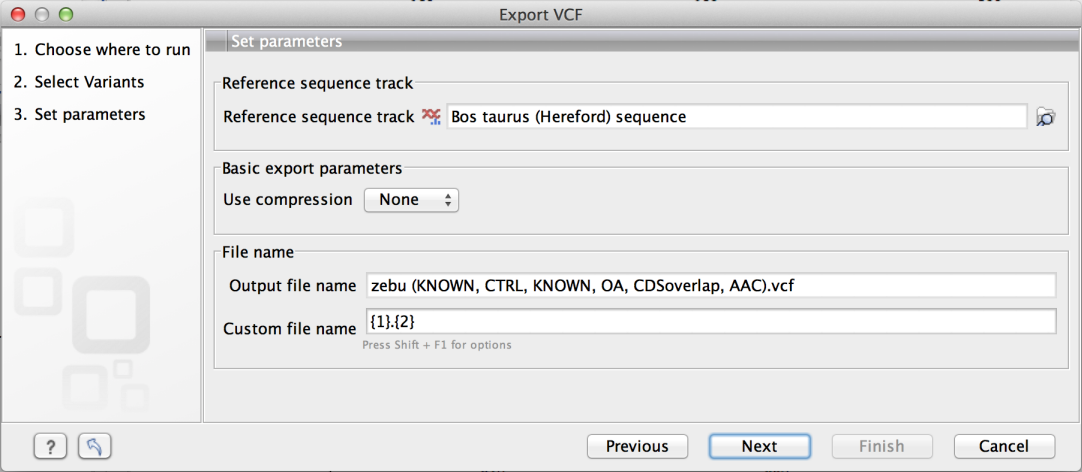
Figure 6.20: Set the export parameters. When exporting in VCF format, a reference sequence track must be selected.
Compression options. Within the Basic export parameters section, you can choose to compress the exported files. The options are no compression (None), gzip or zip format. Choosing zip format results in all data files being compressed into a single file. Choosing gzip compresses the exported file for each data element individually.
Exporting multiple files. If you have selected multiple files of the same type, you can choose to export them in one single file (only for certain file formats) by selecting "Output as single file" in the Basic export parameters section. If you wish to keep the files separate after export, make sure this box is not ticked. Note: Exporting in zip format will export only one zipped file, but the files will be separated again when unzipped.
Choosing the exported file name(s) The default setting for the File name is to use the original data element name as the basename and the export format as the suffix.
When exporting just one data element, or exporting to a zip file, the desired filename could just be typed in the Custom file name box.
When working with the export of multiple files, using some combination of the terms shown by default in this field and in figure 6.22 are recommended. Clicking in the Custome file name field with the mouse and then simultaneously pressing the Shift + F1 keys bring up a list of the available terms that can be included in this field. You can see that "{1}" is the name of the input element and "{2}" is the file name extension. It is possible to change the input file name and the file extension name. We will look at an example to illustrate this:
In this example we would like to change the export file format to .fasta in a situation where .fa was the default format that would be used if you kept the default file extension suggestion ("{2}"). To do this replace "{2}" with ".fasta" in the "Custom file name field". You can see that when changing "{2}" to ".fasta" , the file name extension in the "Output file name" field automatically changes to the new format (see figure 6.21).
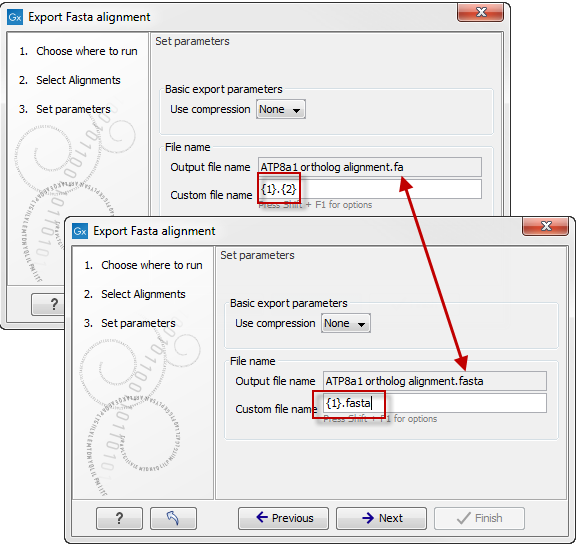
Figure 6.21: The file name extension can be changed by typing in the preferred file name format.
As you add or remove text and terms in the Custome file name field, the text in the Output file name field will change so you can see what the result of your naming choice will be for your data. When working with multiple files, only the name of the first one is shown. Just move the mouse cursor over the name shown in the Output file name field to show a listing of the all the filenames.
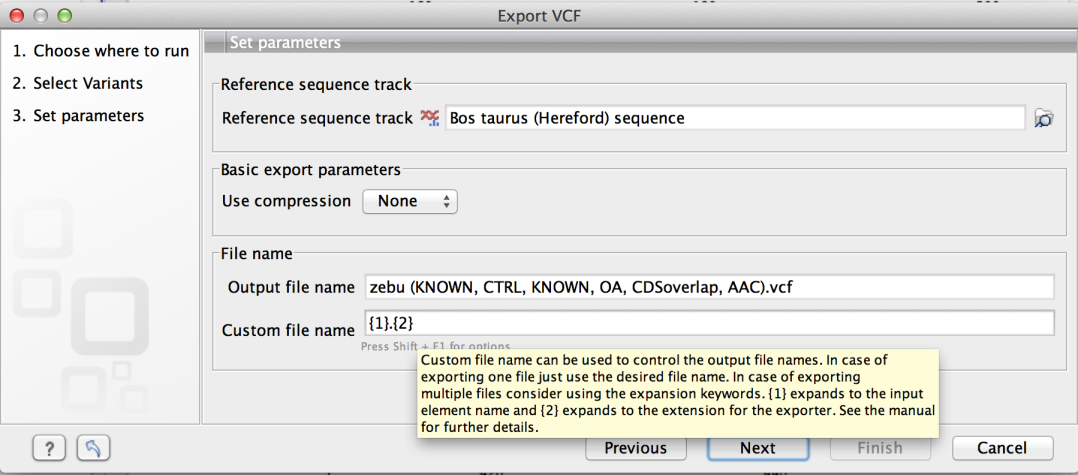
Figure 6.22: Use the custom file name pattern text field to make custom names.
The last step is to specify the exported data should be saved (figure 6.23).
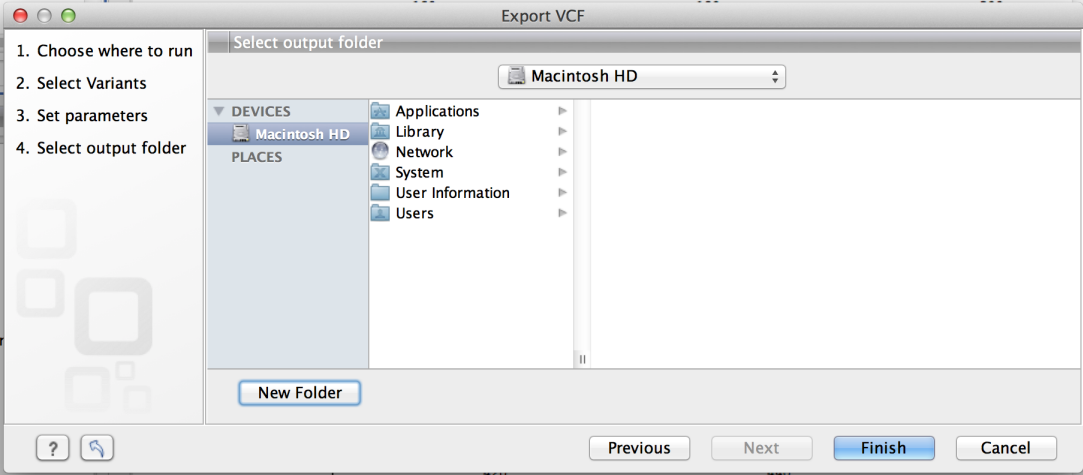
Figure 6.23: Select where to save the exported data.
A note about decimals and Locale settings. When exporting to CSV and tab delimited files, decimal numbers are formatted according to the Locale setting of the Workbench (see General preferences). If you open the CSV or tab delimited file with spreadsheet software like Excel, you should make sure that both the Workbench and the spreadsheet software are using the same Locale.
Subsections
- Export of folders and multiple elements in CLC format
- Export of dependent elements
- Export history
- The CLC format
- Backing up data from the CLC Workbench
- Export of workflow output
- Export of tables