Arrange views in View Area
To provide more space for viewing data, you can hide Navigation Area and the Toolbox by clicking the hide icon (Views are arranged in the View Area by their tabs. The order of the views can be changed using drag and drop. E.g. drag the tab of one view onto the tab of a another. The tab of the first view is now placed at the right side of the other tab.
If a tab is dragged into a view, an area of the view is made gray (see fig. 2.6) illustrating that the view will be placed in this part of the View Area.
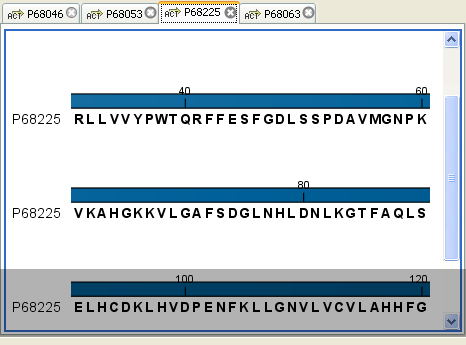
Figure 2.6: When dragging a view, a gray area indicates where the view will be shown.
The results of this action is illustrated in figure 2.7.
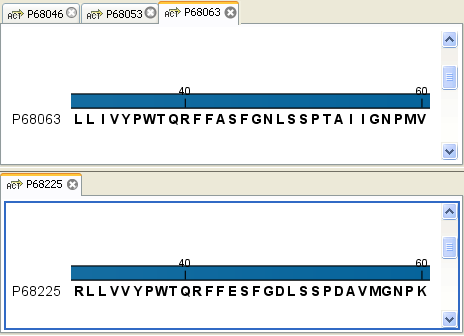
Figure 2.7: A horizontal split-screen. The two views split the View Area.
You can also split a View Area horizontally or vertically using the menus.
Splitting horizontally may be done this way:
right-click a tab of the view | View |
Split Horizontally (![]() )
)
This action opens the chosen view below the existing view. (See figure 2.8). When the split is made vertically, the new view opens to the right of the existing view.

Figure 2.8: A vertical split-screen.
Splitting the View Area can be undone by dragging e.g. the tab of the bottom view to the tab of the top view. This is marked by a gray area on the top of the view.
Subsections