Creating a workflow installation file
At the bottom of the workflow editor, click the Create Installer button (or
use the shortcut Shift + Alt + I) to bring up a dialog where you provide
information about the workflow to be distributed (see an example with
information from a CLC bio workflow in figure
34.31).
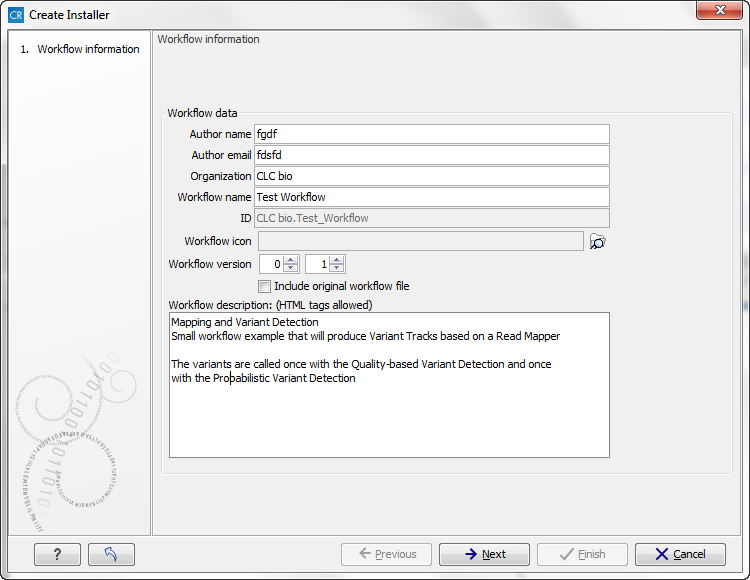
Figure 34.31: Workflow information for the installer.
- Author information
- Providing name, email and organization of the author of the workflow. This will be visible for users installing the workflow and will enable them to look up the source of the workflow any time. The organization name is important because it is part of the workflow id (see more in Workflow identification and versioning)
- Workflow name
- The workflow name is based on the name used when saving the workflow in the Navigation Area. The workflow name is essential because it is used as part of the workflow id (see more in Workflow identification and versioning). The workflow name can be changed during the installation of the workflow. This is useful whenever you have a workflow that you would like to use e.g. with small variations. The original workflow name will remain the same in the Navigation Area - only the installed workflow will receive the customized name.
- ID
- The final id of the workflow.
- Workflow icon
- An icon can be provided. This will show up in the installation overview and in the Toolbox once the workflow is installed. The icon should be a 16 x 16 pixels gif or png file. If the icon is larger, it will automatically be resized to fit 16 x 16 pixels.
- Workflow version
- A major and minor version can be provided.
- Include original workflow file
- This will include the design file to be included with the installer. Once the workflow is installed in a workbench, you can extract the original workflow file and modify it.
- Workflow description
- Provide a textual description of the workflow. This will be displayed for users when they have installed the workflow. Simple HTML tags are allowed (should be HTML 3.1 compatible, see http://www.w3.org/TR/REC-html32).
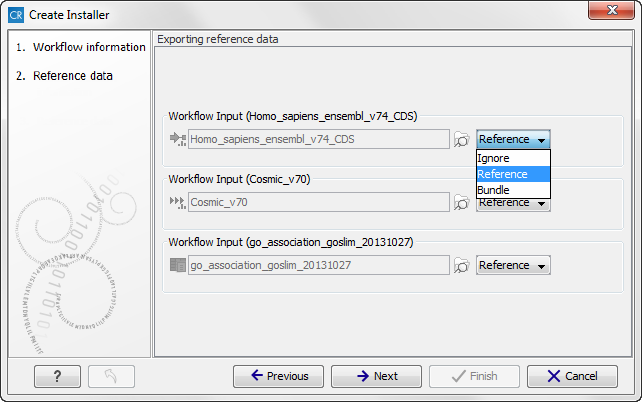
Figure 34.32: Bundling data with the workflow installer.
If you configured any of the workflow elements with data, clicking Next will give you the following three options (see figure 34.32):
- Ignore This will exclude these reference data from the workflow.
- Reference This option can be used to include reference data from a shared CLC_References directory in a workflow without bundling the reference data with the workflow. Instead he reference data is included in the workflow by pointing at the shared CLC_References directory. This is particularly useful when working with large reference data.
- Bundle Includes data in the workflow by bundling the reference data with the workflow. Note! Bundling data should only be used to bundle small data sets with the workflow installer.
Click Next and you will be asked to specify where to install the workflow (figure 34.33). You can install your workflow directly on your local computer. If you are logged on a server and are the administrator, the option "Install the workflow on the current server" will be enabled. Finally, you can select to save the workflow as a .cpw file that can be installed on another computer. Click Finish. This will install the workflow directly on the selected destination. If you have selected to save the workflow for installation on another computer, you will be asked where to save the file after clicking Finish. If you chose to bundle data with your workflow installation, you will be asked for a location to put the bundled data on the workbench. Installing a workflow with bundled data on a server, the data will be put in a folder created in the first writeable persistence location. Should this location not suit your needs, you can always move it afterwards, using the normal persistence operations.
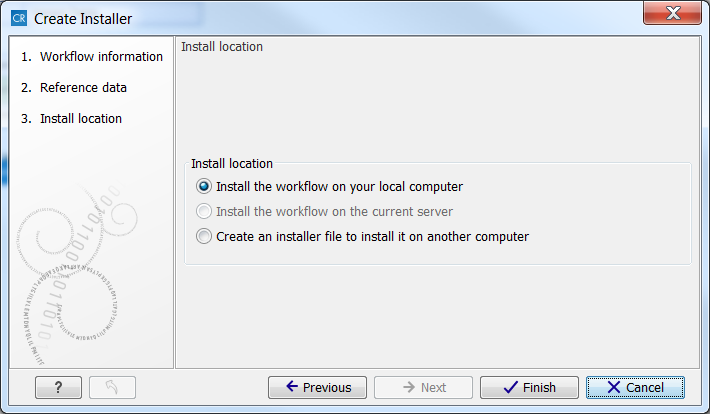
Figure 34.33: Select whether the workflow should be installed on your local computer or on the current server. A third option is to create an installer file (.cpw) that can be installed on another computer.
In cases where an existing workflow, that has already been installed, is modified, the workflow must be reinstalled. This can be done by first saving the workflow after it has been modified and then pressing the Create Installer button. Click through the wizard and select whether you wish to install the modified workflow on your local computer or on a server. Press Finish. This will open a pop-up dialog "Workflow is already installed" (figure 34.34) with the option that you can force the installation. This will uninstall the existing workflow and install the modified version of the workflow. Note! When forcing installation of the modified workflow, the configuration of the original workflow will be lost.
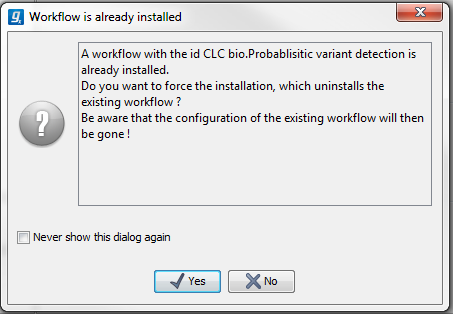
Figure 34.34: Select whether you wish to force the installation of the workflow or keep the original workflow.