How to run the "Identify Known Mutations from Sample Mappings" tool
To run the "Identify Known Mutations from Sample Mappings" tool go to the toolbox:
Toolbox | Resequencing Analysis (![]() ) |
Identify Known Mutations from Sample Mappings (
) |
Identify Known Mutations from Sample Mappings (![]() )
)
This opens the wizard shown in figure 21.1.
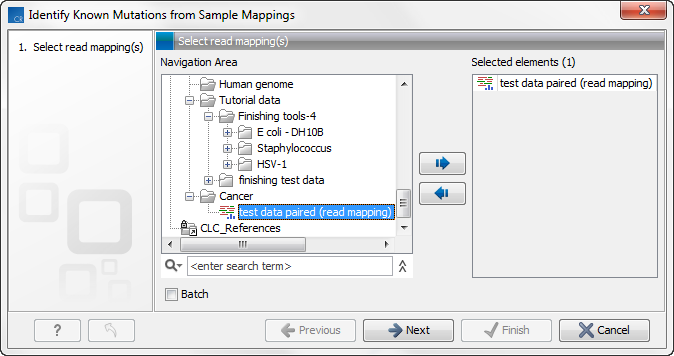
Figure 21.1: Select the read mapping(s) to analyze.
Select the read mapping to analyze and click on the button labeled Next.
In the next wizard that appears, you get the following options:
- Variant track
-
- Variant track Select the variant track that contains the specific variants that you wish to test for in your read mapping (figure 21.2). Note! You can only select one variant track at the time. If you wish to compare with more than one variant track, you must run the analysis with each individual variant track at the time.
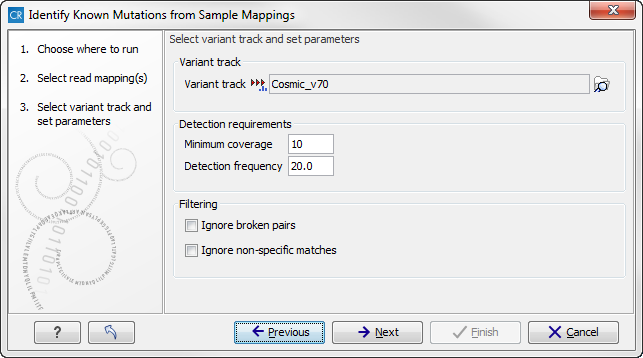
Figure 21.2: Select the variant track with the variants that you wish to use for variant testing. In this example we will use "COSMIC". - Detection requirements
-
- Minimum coverage The minimum number of reads that covers the position of the variant, which is required to set "Sufficient Coverage" to YES.
- Detection frequency The minimum allele frequency that is required to annotate a variant as being present in the sample. The same threshold will also be used to determine if a variant is homozygous or heterozygous. In case the most frequent alternative allele at the position of the considered variant has a frequency of less than this value, the zygosity of the considered variant will be reported as being homozygous.
- Filtering
-
- Ignore broken pairs When ticked, reads from broken pairs are ignored. Broken pairs may arise for a number of reasons, one being erroneous mapping of the reads. In general, variants based on broken pair reads are likely to be less reliable, so ignoring them may reduce the number of spurious variants called. However, broken pairs may also arise for biological reasons (e.g. due to structural variants) and if they are ignored some true variants may go undetected.
- Ignore non-specific matches Reads that have an equally good match elsewhere on the reference genome (these reads are colored yellow in the mapping view) can be ignored in the analysis. Whether you include these reads or not will be a tradeoff between sensitivity and specificity. Including them may lead to the prediction of transcripts that are not correct, whereas excluding them may mean that you will loose some true transcripts.
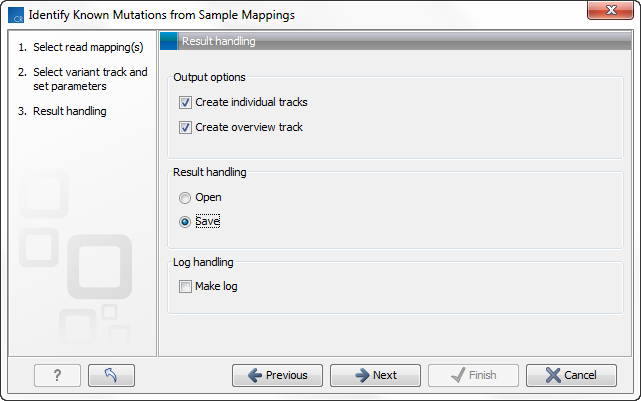
Figure 21.3: Select the desired output format(s). If using the default settings, two types of output will be generated; individual tracks and overview tracks.
The output options are:
- Create individual track For each read mapping an individual track is created with the observed frequency, average base quality, forward/reverse read balance, zygosity and observed allele count.
- Create overview track The overview track is a summary for all samples with information about whether the coverage is sufficient at a given variant position and if the variant has been detected; the frequency of the variant.
Specify where to save the results and click on the button labeled Finish.
The individual sample track
For each mapping track from a sample, one individual sample output track will be created (figure 21.4). The track provides more detailed information about each variant tested in this specific sample.
In the overview track the variant has been annotated with the following information:
- ("Sample name") Coverage Either Yes or No, depending on whether the coverage at the position of the variant was higher or lower than the user given threshold for minimum coverage.
- ("Sample name") detection Either Yes or No, depending on the minimum frequency settings chosen by the user.
- ("Sample name") frequency The variant frequency observed in this sample.
- ("Sample name") zygosity The zygosity observed in the sample. This
setting is based on the minimum frequency setting made by the user. If this
variant has been detected and the most frequent alternative allele at this
position is also over the cutoff, the value is heterozygote.
In the individual track the variant has been annotated with the following information:
- Zygosity Homozygous or Heterozygous (based on the parameter "Detection frequency" setting)
- Count Number of reads supporting the variant
- Frequency Frequency of the reads supporting the variant
- Average Quality Average quality of all bases supporting the variant
- Forward/Reverse balance Minimum ratio of forward and reverse reads supporting
the variant
- MFAA count The Most Frequent Alternative Allele count (MFAA count) is the count of reads supporting the most frequent alternative
allele at the position of the variant
- MFAA frequency Frequency of reads supporting the most frequent
alternative allele at the position of the variant
- MFAA forward read count forward reads supporting the most frequent
alternative allele at the position of the variant
- MFAA reverse read count reverse reads supporting the most frequent
alternative allele at the position of the variant
- MFAA forward/reverse balance forward/reverse balance of the most
frequent alternative allele at the position of the variant
- MFAA average quality average quality of the most
frequent alternative allele at the position of the variant
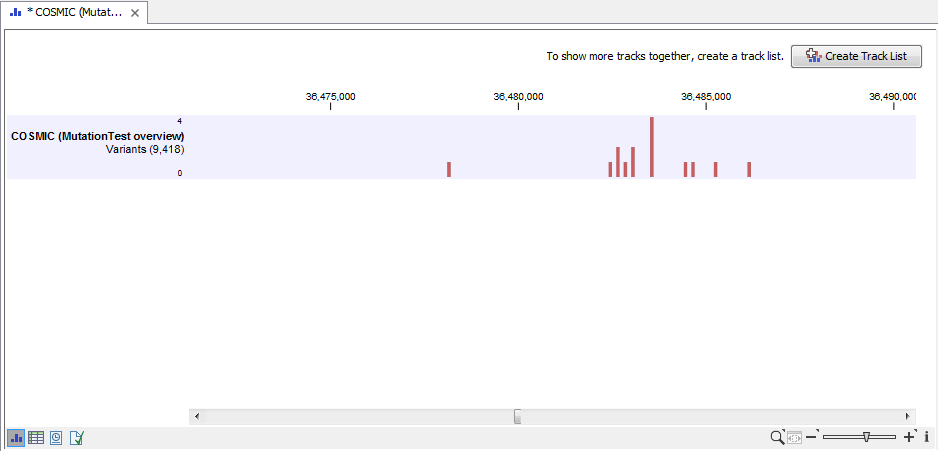
Figure 21.4: Summary output of the variant tester tool.
At the bottom of the window it is possible to switch to a table view that lists all the mutations from the variant track that were found in your sample mapping. An example of the "Mutation Test overview" table can be seen in figure 21.5.
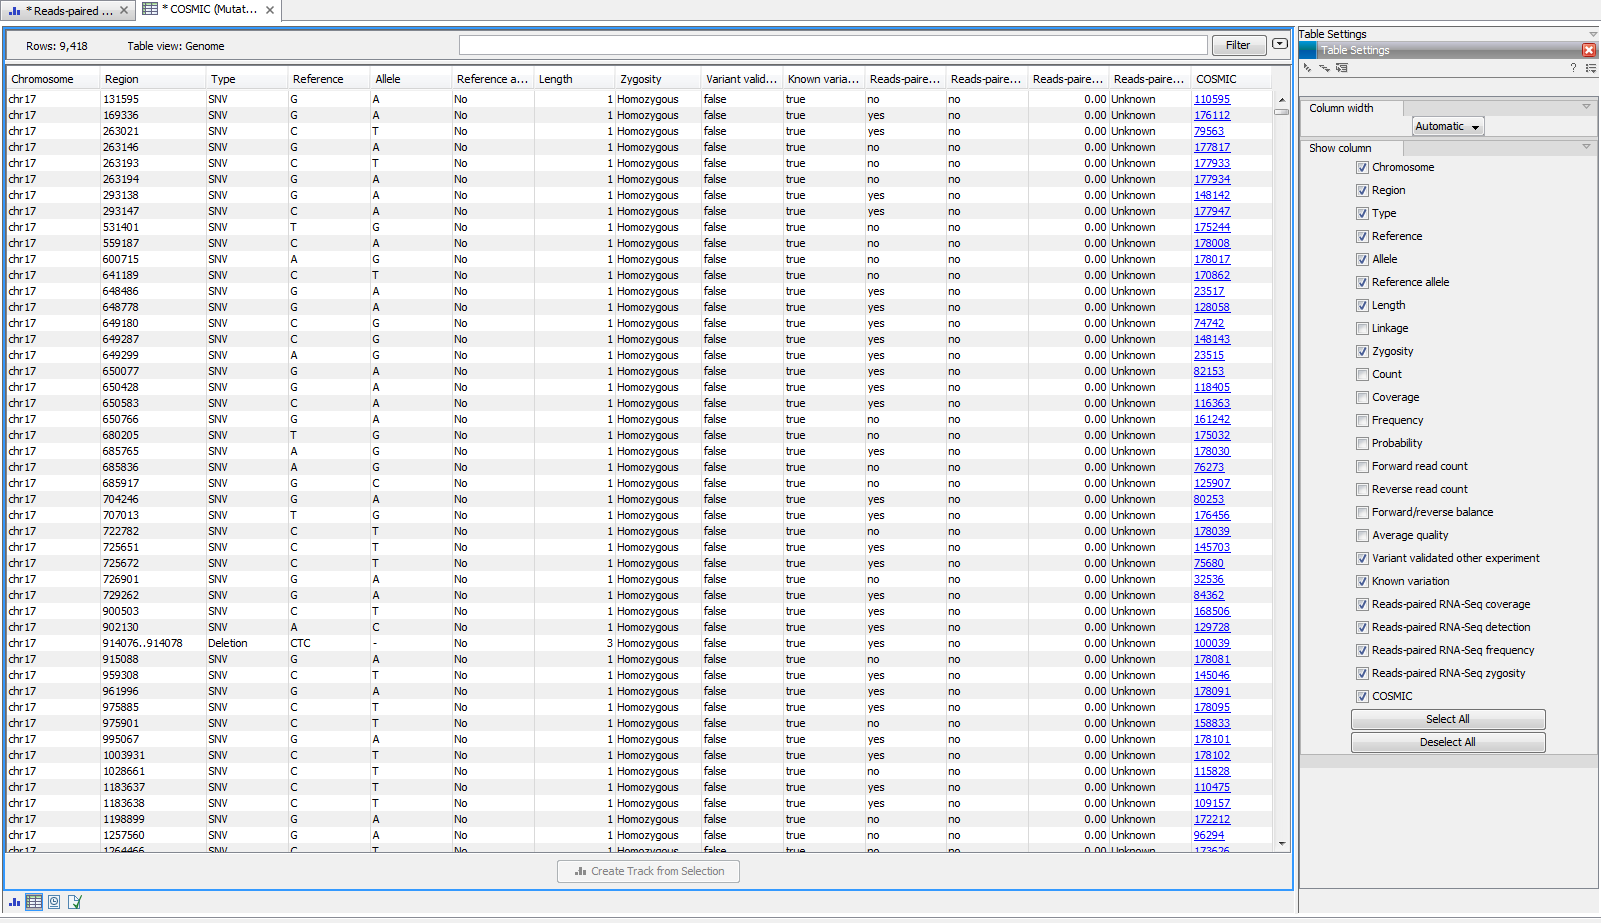
Figure 21.5: Overview output of the "Identify Known Mutations from Sample Mappings" tool.