
Show folder elements in a table
The table view of folder contents
The contents of a CLC Data Location or a folder selected in the Navigation Area can be opened in a table view (figure 3.7) by:
- Right-clicking the folder and selecting Show (
 ) from the context menu.
- Choosing Show () from under the top level File menu.
- Using the keyboard shortcut Ctrl + O (
 + O on Mac).
The contents of a folder listed in a table can be opened in a table view by:
- Right-clicking the folder in the table and selecting Show () from the context menu (figure 3.8).
- Double-clicking the folder in the table.
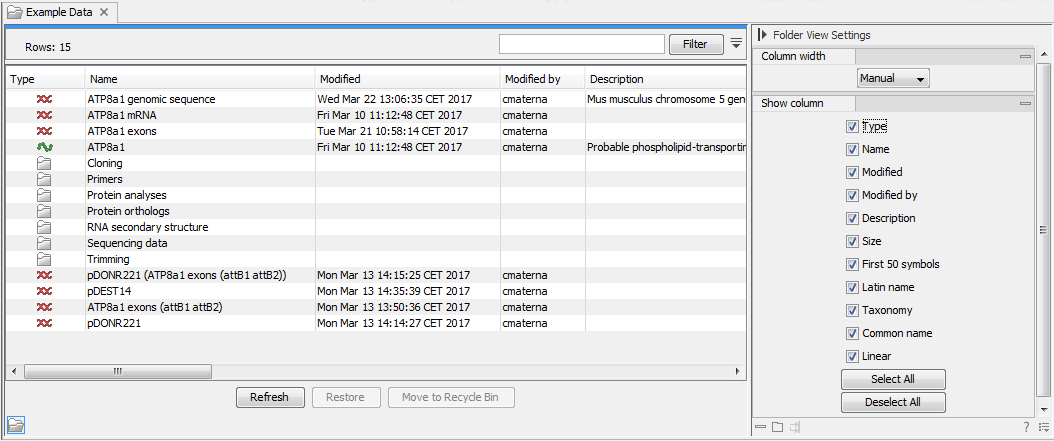
Figure 3.7: The Cloning folder opened in a table view by using the Show option in the Navigation Area right-click context menu.
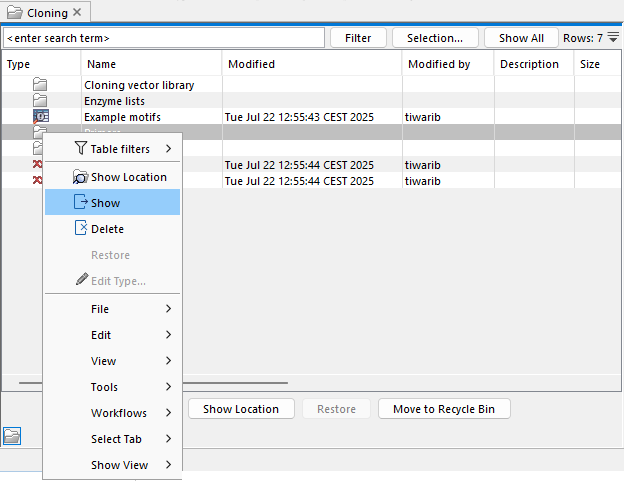
Figure 3.8: Use the Show option in the table view right-click context menu to list the contents of the selected folder in a new table view.
Finding selected elements and folders in the Navigation Area
To view the location of items in the Navigation Area, select the relevant table rows, right-click on a selection, and choose Show Location ( ) from the menu that appears.
As standard, items selected in the Navigation Area are pre-selected in launch wizard step(s) for specifying input data, (as long as the selected items can be used as input for the analysis).
Standard sorting and filtering can be used to help find items of interest in the table. These activities do not affect the order of elements in the Navigation Area.
Bulk editing element attributes
The attributes of multiple data elements selected in the table view can be edited in a single action. To do this, right-click on the selection within the column where values should be updated. Then select the option Edit <column name> from the menu that appears. For example, in figure 3.9, the descriptions of two sequences will be updated in a single action.
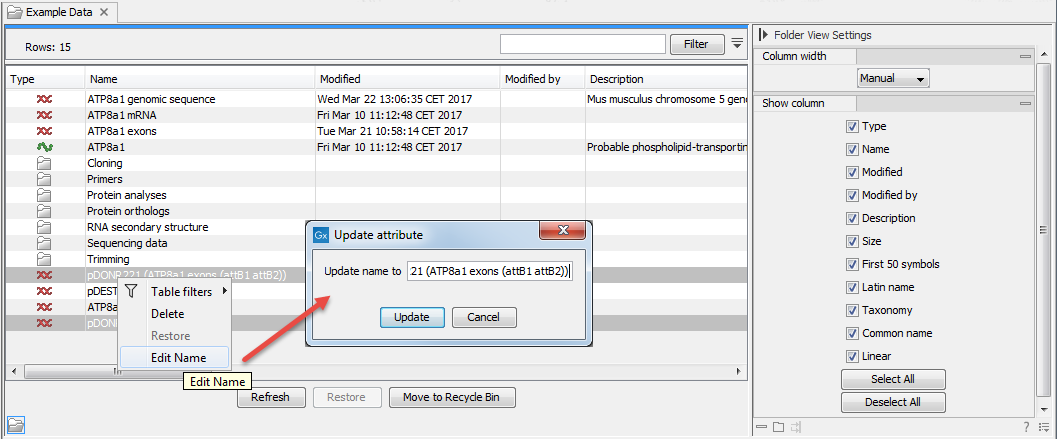
Figure 3.9: Changing the descriptions for two sequence elements at the same time.
Notes about updating names
- Multiple elements in the same folder cannot have identical names. If names in a folder are edited in a single action, the first will have the name applied, and subsequent elements will have a number appended to the name, such that each name is unique.
- Changes to names cannot be undone. The elements will need to be renamed again.
Moving items or folders to the recycle bin
Selected items can be moved to the recycle bin by right-clicking on the selection and choosing the option Delete from the menu that appears.
See Delete, restore and remove elements for further details about data deletion.
Drag and drop folder elements
You can drag and drop objects from the folder editor to the Navigation area. This will create a copy of the objects at the selected destination.
New elements can be included in the folder editor in the view area by dragging and dropping an element from a destination in the Navigation Area to the folder in the Navigation Area that you have open in the view area. It is not possible to drag elements directly from the Navigation Area to the folder editor in the View area.