Working with tables
Tables are used in a lot of places in the CLC Genomics Workbench. There are some general features for all tables, irrespective of their contents, that are described here.
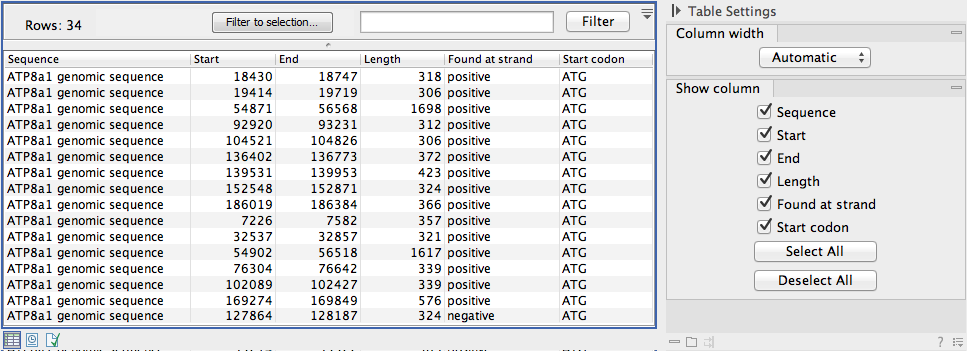
Figure 3.9 shows an example of a typical table. This is the table result of Find Open Reading Frames (![]() ). We use this table as an example to illustrate concepts relevant to all kinds of tables.
). We use this table as an example to illustrate concepts relevant to all kinds of tables.

Figure 3.9: A table showing the results of an open reading frames analysis.
Table viewing options in the Side Panel
Options relevant to the view of the table can be configured in the Side Panel on the right.
The Column width can be set to Automatic or Manual. By default, the first time you open a table, it will be set to Automatic. The default selected columns are hereby resized to fit the width of the viewing area. When changing to the Manual option, column widths will adjust to the actual header size, and each column size can subsequently be adjusted manually. When the table content exceeds the size of the viewing area, a horizontal scroll becomes available for navigation across the columns.
You can choose which columns can be displayed in the table by checking or unchecking the boxes beside column names in the Side Panel. In some tables, a single checkbox can be used to hide or show a whole set of columns belonging to a certain category. Two buttons called Select all and Deselect all allow you to select or deselect all columns from that Side Panel section in one click.
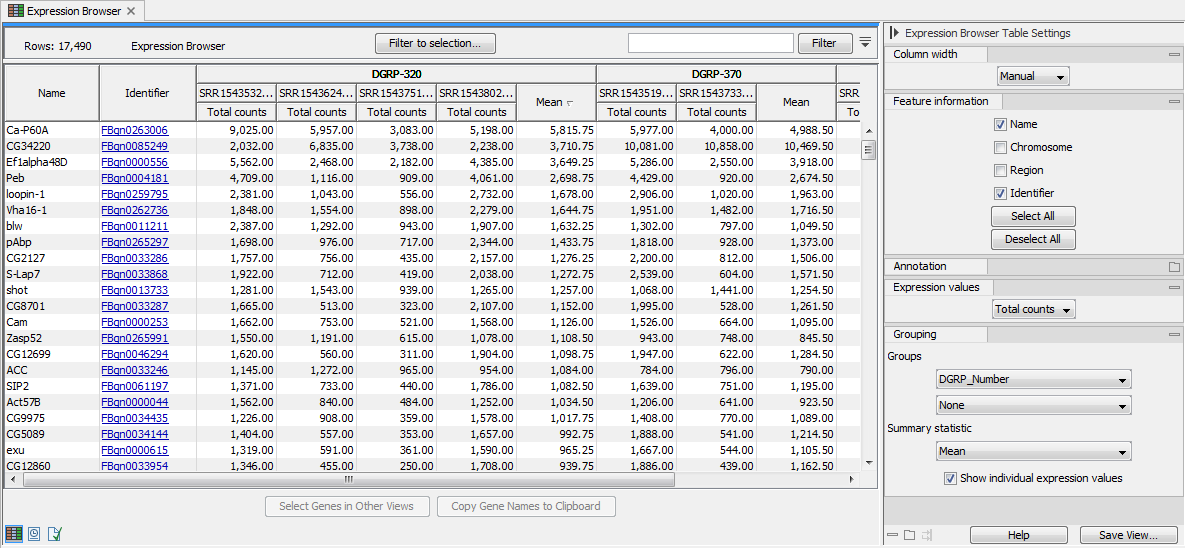
Finally, in some table types (such as Expression Browsers), the content of some columns can be modified using settings in the Side Panel (such as Expression values and Grouping in figure 3.10).

Figure 3.10: A table showing the results of an RNA-Seq analysis.
Working with tables using the right-click menu
Right-clicking on a table reveals standard menu options, as well as table-specific options, found under these submenus:
- Table filters Lists advanced filters relevant to the column that you right-click upon. See Filtering tables for details.
- File Includes the option Export Table, which allows the table to be exported in .csv or Excel format. This option respects the filtering, sorting and column selections that have been applied to the table.
- Edit Includes the option Copy Cell, which copies the contents of individual cells to the clipboard.
Sorting tables
You can sort table according to the values of a particular column by clicking a column header. Clicking once will sort in ascending order. A second click will change the order to descending. A third click will set the order back its original order.
Pressing Ctrl - ![]() on Mac - while you click other columns will refine the existing sorting with the values of the additional columns, in the order in which you clicked them.
on Mac - while you click other columns will refine the existing sorting with the values of the additional columns, in the order in which you clicked them.
Adjusting the column order
The column order for viewing and exporting purposes can be changed. To move a column, click on its heading and, keeping the mouse button depressed, drag it to the desired location in the table. Files exported from a table at this point, such as .csv files, will reflect the new column order.
It is not possible to save the revised column order in the Workbench.
Subsections
