Adding workflow elements
First, click the Add Element (Alternatively elements can be dragged directly from the Toolbox into the workflow. Only workflow enabled elements can be dropped in the workflow.
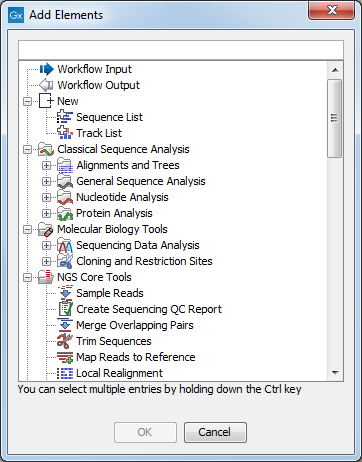
Figure 9.1: Adding elements in the workflow.
Elements that can be selected in the dialog are mostly tools from the Toolbox. However, there are two special elements on the list: the elements that are used for input and output. These are explained in Input and output.
You can select more than one element in the dialog by pressing Ctrl (![]() on Mac) while selecting. Click OK when you have selected the relevant tools. You can add more later on if you wish.
on Mac) while selecting. Click OK when you have selected the relevant tools. You can add more later on if you wish.
You will now see the selected elements in the editor (see figure 9.2).
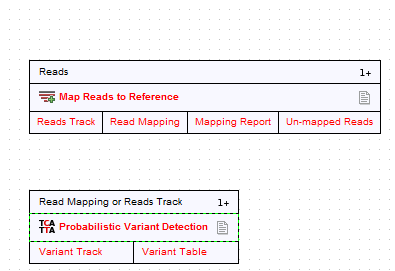
Figure 9.2: Read mapping and variant calling added to the workflow.
Once added, you can move and re-arrange the elements by dragging them with the mouse. To do this, click on part of the box containing the name of the element and then, keeping the mouse button depressed, drag the element to the desired position.