Adding, removing and reordering tracks
You can organize your tracks by dragging them up and down. Right-clicking on any of the tracks opens up a context menu with several options (Figure 23.4). The options shown in the context menu will vary depending on which tracks you have open in the viewing area. Hence, you may not be presented with all the options described here.
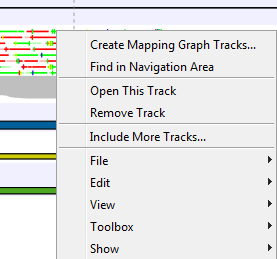
Figure 23.4: Options to handle and organize tracks.
- Create Mapping Graph Tracks
- This will allow you to create a new track from a mapping track (learn more in Graphs).
- Find in Navigation Area
- This will select the track in the Navigation Area.
- Open This Track
- This opens a new view of the track. For annotation and variant tracks, a table view is opened as described in Showing a track in a table. This can also be accomplished by double-clicking the track.
- Remove Track
- This will remove the track from the current view. You can add it again by dragging it from the Navigation Area into the track list view or by pressing Undo (
 ).
).
- Include More Tracks
- This will allow you to add other track sets to your current track set. Please note that the information in the track will still be stored in its original track set. This means that you by including a track in this way at the same time is adding a reference to this track in another track set. An example of this could be the inclusion of a SNP track from another sample to your current analysis.