Choosing the exported file name(s)
The default setting for the File name is to use the original data element name as the basename and the export format as the suffix.
When exporting just one data element, or exporting to a zip file, the desired filename could just be typed in the Custom file name box.
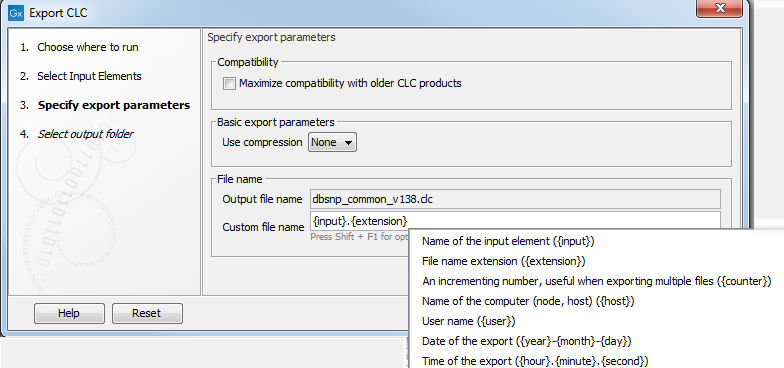
When working with the export of multiple files, using some combination of the terms shown by default in this field and in figure 6.26 are recommended. Clicking in the Custom file name field with the mouse and then simultaneously pressing the Shift + F1 keys bring up a list of the available terms that can be included in this field.

Figure 6.26: Use the custom file name pattern text field to make custom names.
The following placeholders are available:
- {input} or {1} - default name of the data element being exported
- {extension} or {2} - default extension for the chosen export format
- {counter} or {3} - a number that is incremented per file exported. i.e. If you export more than one file, counter is replaced with 1 for the first file, 2 for the next and so on.
- {user} - name of the user who launched the job
- {host} - name of the machine the job is run on
- {year}, {month}, {day}, {hour}, {minute}, and {second} - timestamp information based on the time an output is created. Using these placeholders, items generated by a workflow at different times can have different filenames.
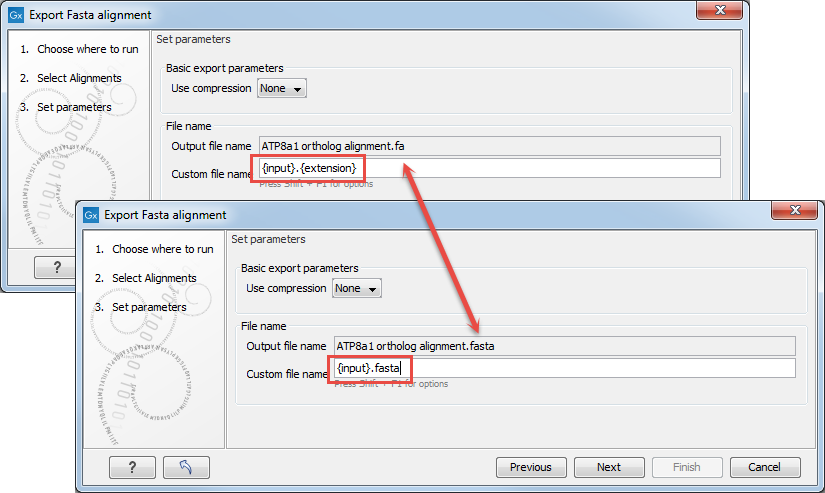
In the following example, we would like to change the export file format to .fasta in a situation where .fa was the default format that would be used if you kept the default file extension suggestion ("{2}"). To do this, replace "{2}" with ".fasta" in the "Custom file name field". You can see that when changing "{2}" to ".fasta", the file name extension in the "Output file name" field automatically changes to the new format (see figure 6.27).

Figure 6.27: The file name extension can be changed by typing in the preferred file name format.
When deciding on an output name, you can choose any combination of the different placeholders as well as custom names and punctuation, as in {input}({day}-{month}-{year}).
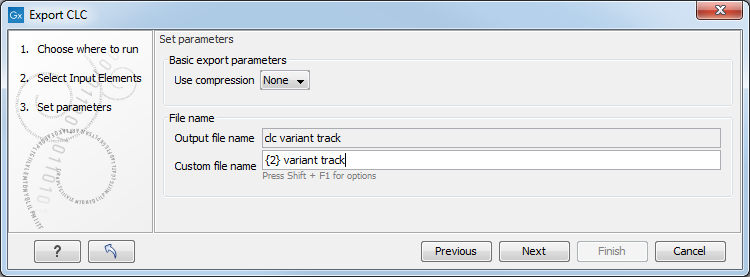
Another example of a meaningful name to a variant track could be {2} variant track as shown in figure 6.28. If your workflow input is named Sample 1, the result would be "Sample 1 variant track".

Figure 6.28: Providing a custom name for the result.
As you add or remove text and terms in the Custom file name field, the text in the Output file name field will change so you can see what the result of your naming choice will be for your data. When working with multiple files, only the name of the first one is shown. Just move the mouse cursor over the name shown in the Output file name field to show a listing of the all the filenames.
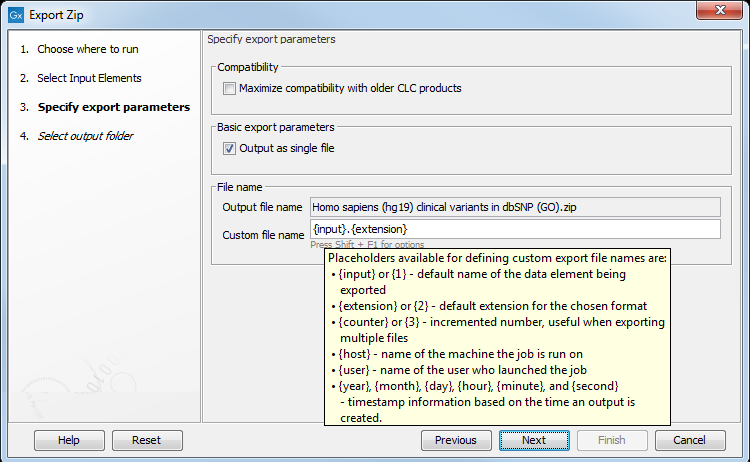
Note! When exporting multiple files, the names will be listed in the "Output file name" text field with only the first file name being visible and the rest being substituted by "...", but will appear in a tool tip if you hover the mouse over that field (figure 6.29).

Figure 6.29: The output file names are listed in the "Output file name" text field.
