Importing Metadata Tables
The basic Metadata import tool is fast and easy. General features of this importer are:
- The importer takes Excel (*.xlsx/*.xls) format files. All columns will be imported as text columns.
- The first column in the Excel file must have unique entries (it is designated as the key column) and these entries must match (exactly or partially) data element names to allow association between the elements and the metadata.
- Data elements can have metadata associated as part of the import or later.
- If metadata association is successful, visual feedback about the elements associated with metadata is provided in the wizard.
To run the basic importer, go to:
File | Import (![]() ) | Import Metadata (
) | Import Metadata (![]() )
)
In the box labeled Spreadsheet with sample information, select the Excel file (*.xlsx/*.xls) to be imported.
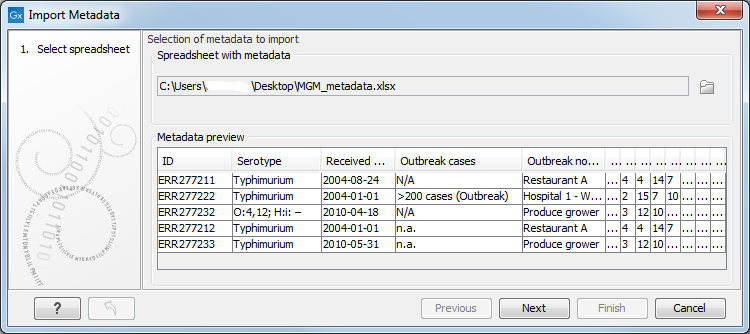
The rows in the spreadsheet are displayed in the Metadata preview table, as shown in figure 9.1.

Figure 9.1: The spreadsheet content is now visible in the importer dialog.
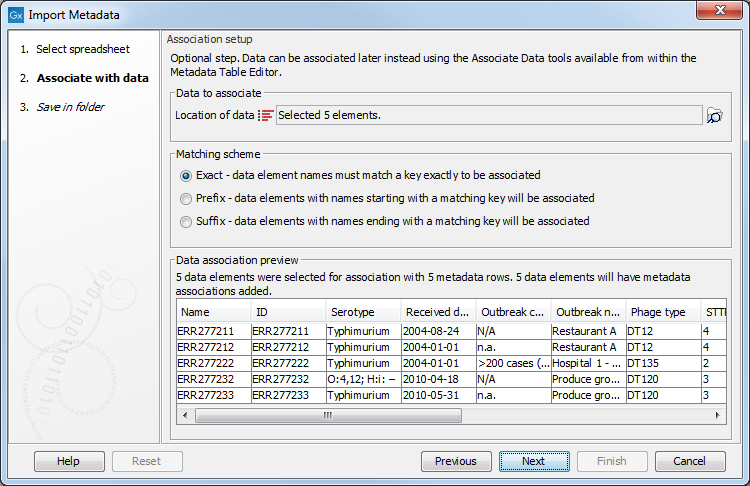
In the second wizard window, you can choose to associate data elements to the metadata. Select in the field Location of data the data elements to associate. In the Matching scheme area, select whether data element names must match exactly or partially the entries in the first column of the metadata (figure 9.2).

Figure 9.2: Metadata rows that have successful association are filling up the table.
You can now click on the button Next to select where you wish the metadata table to be saved.
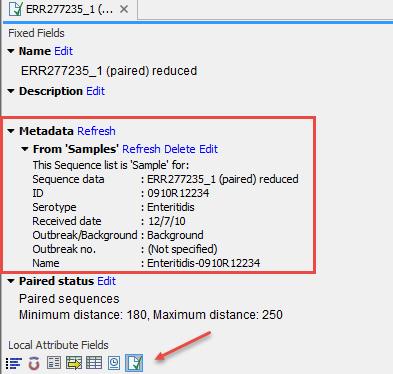
The associated information can be viewed for a given data element in the Show Element Info view, as show in figure 9.3.

Figure 9.3: Metadata associations can be seen, edited, refreshed or deleted via the Show Element Info view.
If desired, a metadata table can be edited later from within the Metadata Table editor (see Associating data elements with metadata). Metadata tables can also be created directly within the CLC Genomics Workbench, as described on http://resources.qiagenbioinformatics.com/manuals/clcgenomicsworkbench/current/index.php?manual=Creating_metadata_table_directly_in_Workbench.html.
