Validating a workflow
At the bottom of the view, there is a text with a status of the workflow (see figure 13.13). It informs you about about the actions needed to finalize the workflow.

Figure 13.13: A workflow is constantly validated at the bottom of the view.
The following needs to be in place before a workflow can be executed:
- All input boxes need to be connected either to the workflow input or to the output of other tools.
- At least one output box from each tool needs to be connected to either a workflow output or to the input box of another tool.
Additional checks are done to verify that the workflow is valid, and specific warning messages will inform of eventual inconsistencies. The validation may contain several lines of text, and it is possible to scroll to see all lines. If one of the errors pertain to a specific element in the workflow, clicking the error will highlight this element.
Once these have been addressed, the status will be "Validation successful". Clicking the Run button will enable you to try running a data set through the workflow to test that it produces the expected results. If reference data has not been configured (see Configuring workflow elements), there will be a dialog asking for this in the workflow launching wizard.
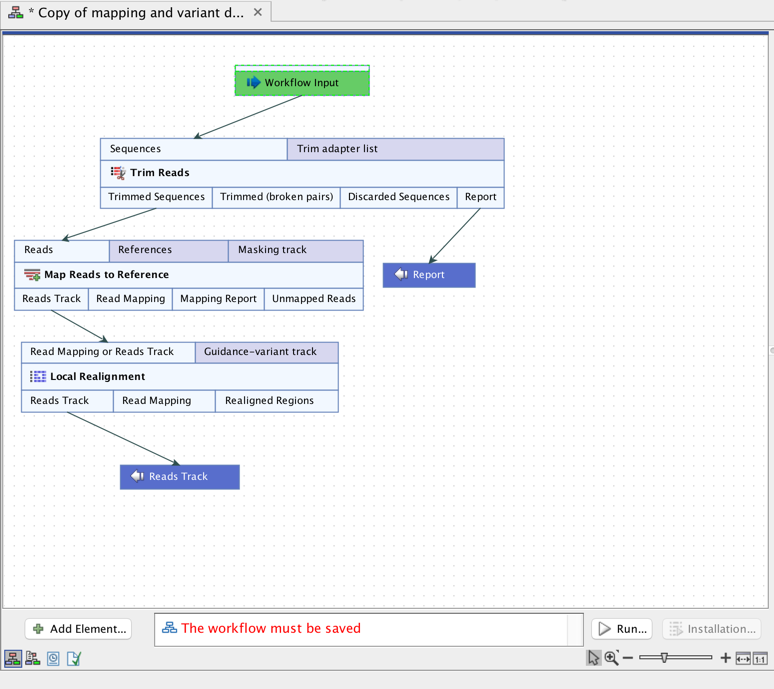
The workflow shown in figure 13.14 has not yet been saved, which is noted by the asterisk in the tab name and the message in red text below the workflow. If the workflow had been successfully saved, the text under the canvas would be in green text saying "Validation successful".

Figure 13.14: This copy of an installed workflow is available for editing in the Workflow Editor. It has not yet been saved for later use, as indicated by the asterisk in the tab name and the warning text below the workflow.

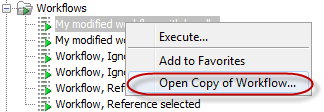
Figure 13.15: Open a workflow in the Workflow Editor.
