Standard import
CLC Main Workbench has support for a wide range of bioinformatic data formats. See List of supported data formats for a list.
The Standard Import tool
The Standard Import tool can be run by clicking on the Import (![]() ) icon in the Toolbar and choosing Standard Import.
) icon in the Toolbar and choosing Standard Import.
Alternatively, go to File | Import (![]() ) | Standard Import (
) | Standard Import (![]() ).
).
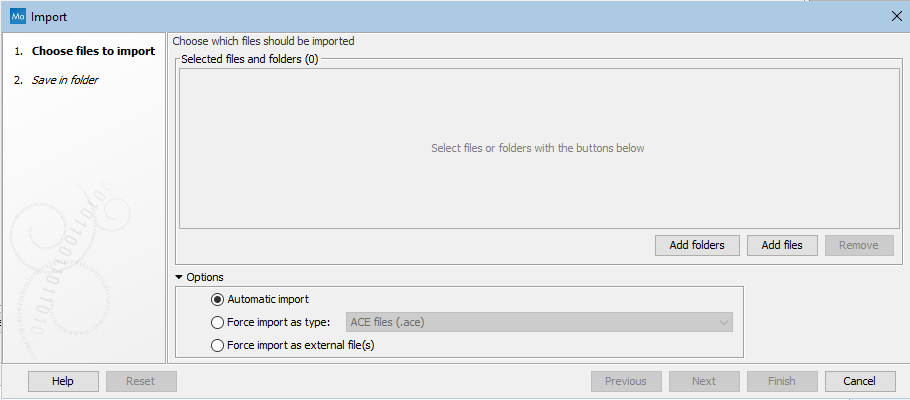
Select files to import by clicking on the Add files button. Alternatively, specify folders containing files to import by clicking on the Add folders button (figure 7.1).
The default option is Automatic import. The file format is automatically detected based on a combination of the file extension (e.g. .fa for fasta) and detection of file contents specific to particular formats. Based on this, the relevant importer is run. The particular importer used is recorded in the element history. If the format is not supported, the file is imported as an external file, that is, it is imported to the CLC Location in its original format. See Working with non-CLC format files for details about working with such files.
You can specify the format explicitly using the option Force import as type.
The Force import as external file option can be useful if you are trying to import a standard format file, such as a text file, but it is being detected as bioinformatics format file, such as sequence data.

Figure 7.1: The Standard Import tool.
Standard Import is also used to import files that are dragged from a file browser and dropped into the Navigation Area. In this case, the file format is automatically detected. To force the file type, launch the tool explicitly, as described at the start of this section.
Importing by copy/pasting text
Data can be copied and pasted directly into the Navigation Area.
Copy text |
Select a folder in the Navigation Area |
Paste (![]() )
)
Standard import with automatic format detection is run using the pasted content as input.
This is a fast way to import data, but importing files as described above is less error prone, and thus generally recommended instead.
