QIAseq Pro Fastq to Annotated Germline Variants
The QIAseq Pro Fastq to Annotated Germline Variants template workflow identifies germline variants from QIAseq Targeted DNA Pro data and annotates these with exon number and amino acid changes. The workflow also produces a read mapping and a coverage report, and if provided with a baseline, copy number variation is also calculated.
The workflow can be found at:
Template Workflows | LightSpeed Workflows (![]() ) | QIAseq workflows (
) | QIAseq workflows (![]() ) | QIAseq Targeted DNA Pro (
) | QIAseq Targeted DNA Pro (![]() ) | QIAseq Pro Fastq to Annotated Germline Variants (
) | QIAseq Pro Fastq to Annotated Germline Variants (![]() )
)
If you are connected to a CLC Server via your Workbench, you will be asked where you would like to run the analysis. We recommend that you run the analysis on a CLC Server when possible.
In the first wizard step, select a Reference Data Set (figure 6.1).
This workflow has been set up to process data generated with QIAseq Targeted DNA Pro panels, and it is important to choose the right reference data to get the reads correctly processed.
The off-the-shelf QIAseq Targeted DNA Pro panels are available in the QIAseq DNA Pro Panels hg38 reference data set. If you have not downloaded the Reference Data Set yet, the dialog will offer the opportunity to download it using the Download to Workbench button.
If the QIAseq DNA Pro Panels hg38 reference data set does not contain the needed primers and target regions, a custom reference data set can be created, see http://resources.qiagenbioinformatics.com/manuals/clcgenomicsworkbench/current/index.php?manual=Custom_Sets.html.
The reference data set for QIAseq Targeted DNA panels should not be used with this workflow. The differences in read structure will for example prevent primers from being correctly trimmed.
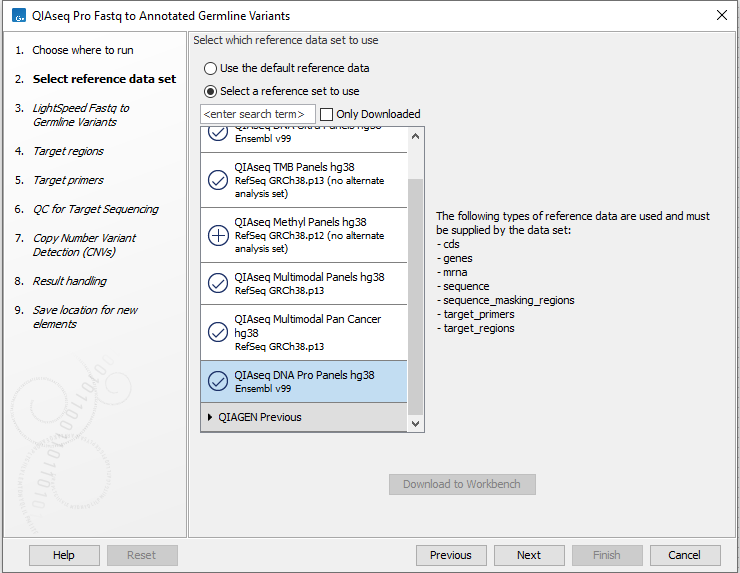
Figure 6.1: Select a reference data set.
In the LightSpeed Fastq to Germline Variants wizard step (figure 6.2) you have the following options:
- Reads (fastq) Press Browse to select fastq files for analysis.
- Masking mode To enable reference masking when mapping reads, set this option and select a masking track.
- Masking track Provide a masking track for the chosen reference genome if reference masking has been enabled.
- Batch Select if fastq files from different samples are used as input, and each sample should be analyzed individually (for information about batching see Batching).
- Join lanes when batching Select to join fastq files from the same sample that were sequenced on different lanes.
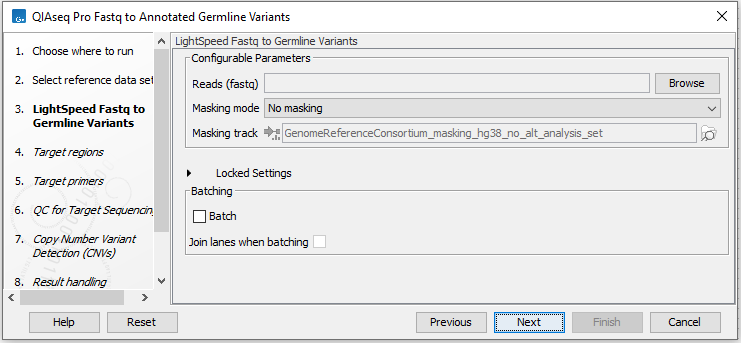
Figure 6.2: Select fastq files.
In the next dialog (figure 6.3), specify the relevant target regions from the drop down list.
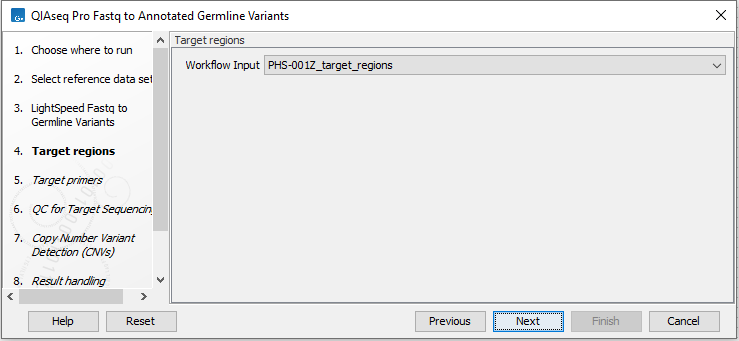
Figure 6.3: Select target regions.
Repeat the selection of the appropriate track for target primers in the subsequent dialog (figure 6.4).
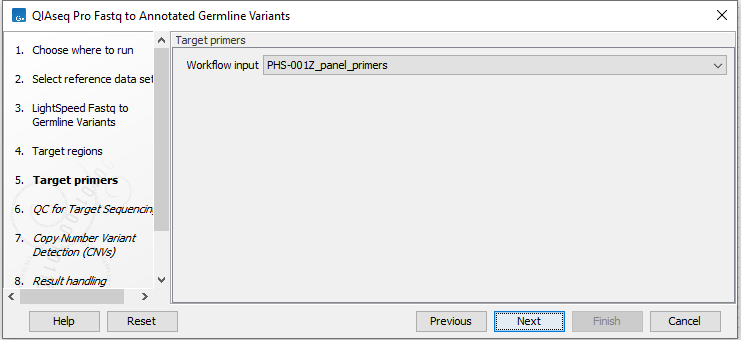
Figure 6.4: Select target primers.
In the QC for Target Sequencing wizard step, define the threshold for minimum coverage (figure 6.5). This threshold is important because it is used in the quality control section of the sample report. In the later wizard step for Create Sample Report, you will be able to adjust the percent bases in the target regions that should meet this threshold.
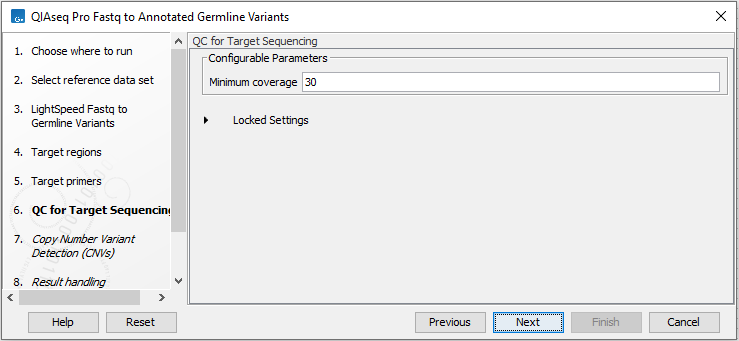
Figure 6.5: Set the coverage threshold. This threshold is used in the quality control section of the sample report.
The dialog for Copy Number Variant Detection allows you to specify a control mapping against which the coverage pattern in your sample will be compared in order to call CNVs (figure 6.6). If you do not specify a control mapping, or if the target regions files contains fewer than 50 regions, the Copy Number Variation analysis will not be carried out.
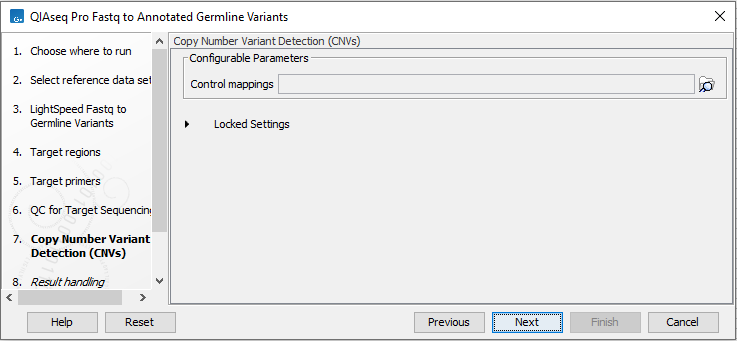
Figure 6.6: Select control coverage tables or read mappings for copy number variant detection.
Please note that if you want the copy number variation analysis to be done, it is important that the control mapping supplied is a meaningful control for the sample being analyzed. Mapping of control samples for the CNV analysis can be done using the workflow described in QIAseq Pro Fastq to Germline CNV Control.
A meaningful control must satisfy two conditions: (1) It must have a copy number status that it is meaningful for you to compare your sample against. For panels with targets on the X and Y chromosomes, the control and sample should be matched for gender. (2) The control read mapping must result from the same type of processing that will be applied to the sample. One way to achieve this is to process the control using the workflow (without providing a control mapping for the CNV detection component) and then to use the resulting UMI reads track as the control in subsequent workflow runs.
In the Create Sample Report wizard step, select relevant summary items and specify thresholds for quality control (figure 6.7). Summary items, thresholds and an indication of whether specified thresholds were met, will be shown in the quality control section of the sample report. The default summary items are appropriate for many data sets, but may need to be adjusted.
To add more summary items, press Add..., choose the report type LightSpeed fastq to germline variants or QC for targeted sequencing and select summary items as appropriate.
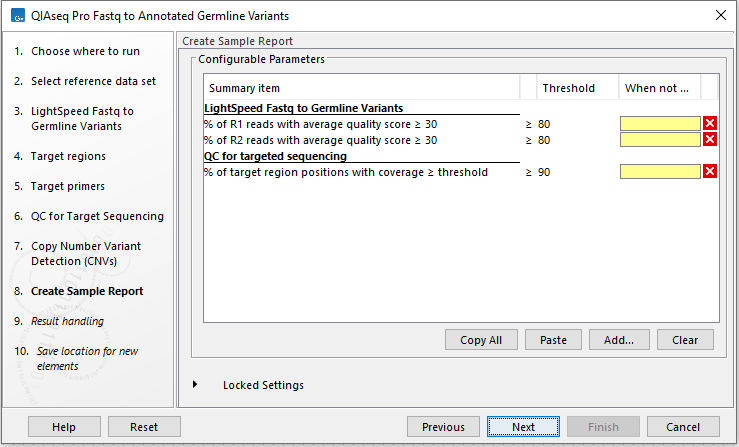
Figure 6.7: Specify summary items. These will be shown in the quality control section of the sample report.
In the final wizard step, choose to Save the results of the workflow and specify a location in the Navigation Area before clicking Finish.
Subsections