How to run the Annotate Variants (TAS) workflow
- Go to the toolbox and select the Annotate Variants (TAS) workflow. In the first wizard step, select the input variant track (figure 15.2).
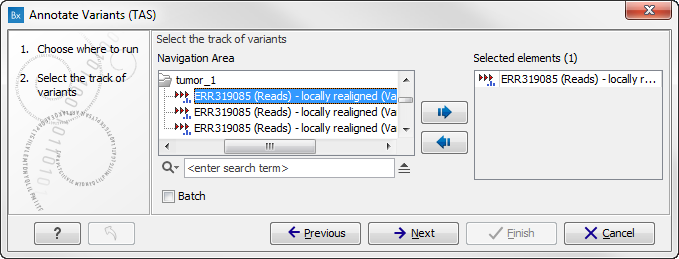
Figure 15.2: Select the variant track to annotate. - Click on the button labeled Next. The only parameter that should be specified by the user is which 1000 Genomes population you use (figure 15.3). This can be done using the drop-down list found in this wizard step. Please note that the populations available from the drop-down list can be specified with the Data Management (
 ) function found in the top right corner of the Workbench (see Download and configure reference data).
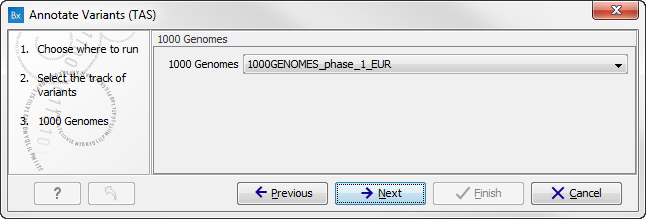
Figure 15.3: Select the relevant 1000 Genomes population(s). - Click on the button labeled Next to go to the last wizard step (figure 15.4).
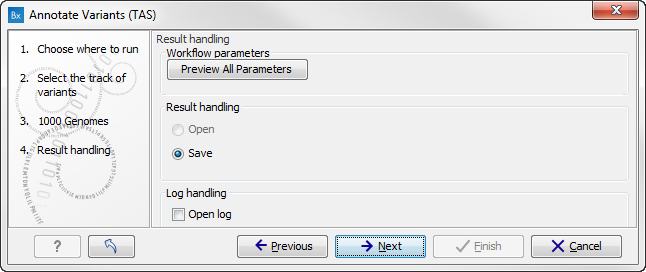
Figure 15.4: Check the settings and save your results.In this wizard step you can check the selected settings by clicking on the button labeled Preview All Parameters. In the Preview All Parameters wizard you can only check the settings, and if you wish to make changes you have to use the Previous button from the wizard to edit parameters in the relevant windows.
- Choose to Save your results and click on the button labeled Finish.