Batch processing
Most of the analyses in the Toolbox are able to perform the same
analysis on several elements in one batch. This means that analyzing
large amounts of data is very easily accomplished. As an example, if you use the Find Binding Sites and Create Fragments (![]() ) tool available in Biomedical Genomics Workbench and supply five sequences as shown in figure 8.1, the result table will present an overview of the results for all five sequences.
) tool available in Biomedical Genomics Workbench and supply five sequences as shown in figure 8.1, the result table will present an overview of the results for all five sequences.
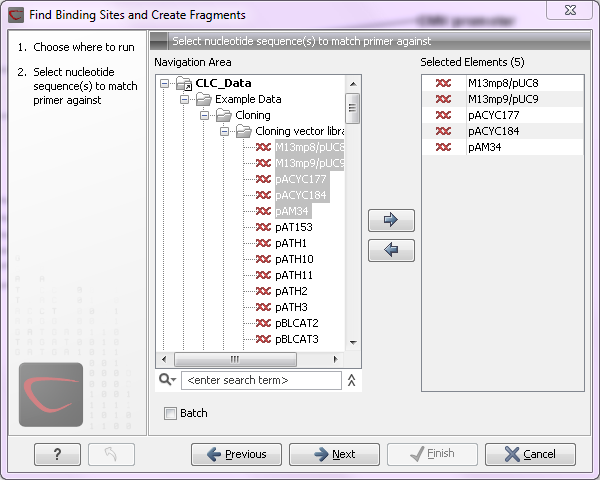
Figure 8.1: Inputting five sequences to Find Binding Sites and Create Fragments.
This is because the input sequences are pooled before running the analysis. If you want individual outputs for each sequence, you would need to run the tool five times, or alternatively use the Batching mode.
Batching mode is activated by clicking the Batch checkbox in the dialog where the input data is selected. Batching simply means that each data set is run separately, just as if the tool has been run manually for each one. For some analyses, this simply means that each input sequence should be run separately, but in other cases it is desirable to pool sets of files together in one run. This selection of data for a batch run is defined as a batch unit.
When batching is selected, the data to be added is the folder containing the data you want to batch. The content of the folder is assigned into batch units based on this concept:
- All subfolders are treated as individual batch units. This means that if the subfolder contains several input files, they will be pooled as one batch unit. Nested subfolders (i.e. subfolders within the subfolder) are ignored.
- All files that are not in subfolders are treated as individual batch units.
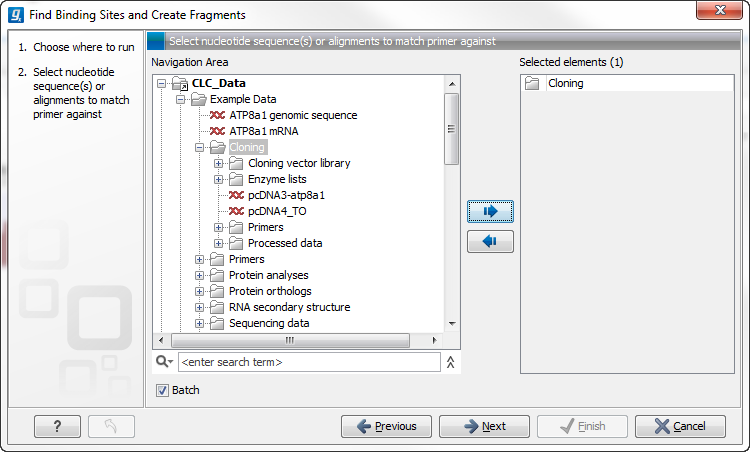
Figure 8.2: The Cloning folder includes both folders and sequences.
The Cloning folder that is found in the example data contains two sequences (![]() ) and four folders (
) and four folders (![]() ). If you click Batch, only folders can be added to the list of selected elements in the right-hand side of the dialog. To run the contents of the Cloning folder in batch, double-click to select it.
). If you click Batch, only folders can be added to the list of selected elements in the right-hand side of the dialog. To run the contents of the Cloning folder in batch, double-click to select it.
When the Cloning folder is selected and you click Next, a batch overview is shown.
Subsections
- Batch overview
- Batch filtering and counting
- Setting parameters for batch runs
- Running the analysis and organizing the results