How to import data
- Use the Import tool in the toolbar (see figure 12.15) to import your sequencing data into the Biomedical Genomics Workbench.
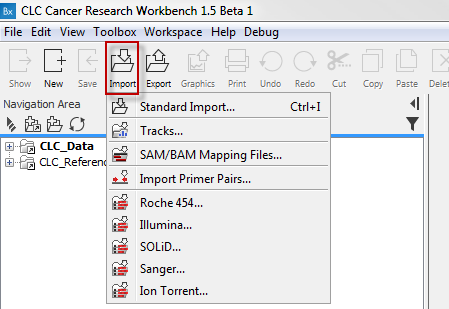
Figure 12.14: Click on the tool labeled "Import" in the toolbar to import data. Select importer according to the data type you wish to import. - Click on one of the import options e.g. "Illumina". This will make a wizard appear as shown in figure 12.16.

Figure 12.15: Locate and select the files to import. Tick "Paired reads" if you, as in this example, are importing paired reads. - Locate and select the files to import. Note that you can select all sequence files and import them simultaneously. If you take a closer look at the different options in this wizard, you can see that it is possible to choose different import options. We recommend to import data with the standard settings. If you wish to make your own adjustments, you can find further details about the import options in the Biomedical Genomics Workbench reference manual (http://www.clcbio.com/support/downloads/#manuals).
- Click on the button labeled Next. This will take you to the next wizard step (see figure 12.17).
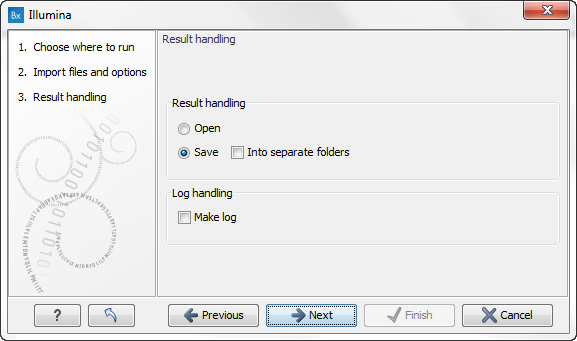
Figure 12.16: You now have the option to choose whether you wish to open or save the imported reads. If you select to open the reads, they will not be saved unless you do it manually at a later point. Select "Save" and click on the button labeled "Next". - Choose the default settings to save the sequence data and click on the button labeled Next. This will take you to the wizard step shown in figure 12.18.
- Locate the folder in the Navigation Area that you have created for the purpose.
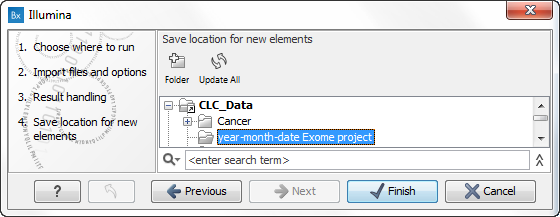
Figure 12.17: Locate the folder in the Navigation Area that you have just created and save your imported reads in the folder. - Click on the button labeled Finish. It can take some seconds or even minutes before all data have been imported and saved.