Annotate Variants (WTS)
Using a variant track (![]() ) (e.g. the output from the Identify Variants and Add Expression Values ready-to-use workflow) the Annotate Variants (WGS) ready-to-use workflow runs an "internal" workflow that adds the following annotations to the variant track:
) (e.g. the output from the Identify Variants and Add Expression Values ready-to-use workflow) the Annotate Variants (WGS) ready-to-use workflow runs an "internal" workflow that adds the following annotations to the variant track:
- Gene names Adds names of genes whenever a variant is found within a known gene.
- mRNA Adds names of mRNA whenever a variant is found within a known transcript.
- CDS Adds names of CDS whenever a variant is found within a coding sequence.
- Amino acid changes Adds information about amino acid changes caused by the variants.
- Information from ClinVar Adds information about the relationships between human variations and their clinical significance.
- Information from dbSNP Adds information from the "Single Nucleotide Polymorphism Database", which is a general catalog of genome variation, including SNPs, multinucleotide polymorphisms (MNPs), insertions and deletions (InDels), and short tandem repeats (STRs).
- PhastCons Conservation scores The conservation scores, in this case generated from a multiple alignment with a number of vertebrates, describe the level of nucleotide conservation in the region around each variant.
- Go to the toolbox and select the Annotate Variants (WTS) workflow. In the first wizard step, select the input variant track (figure 16.2).
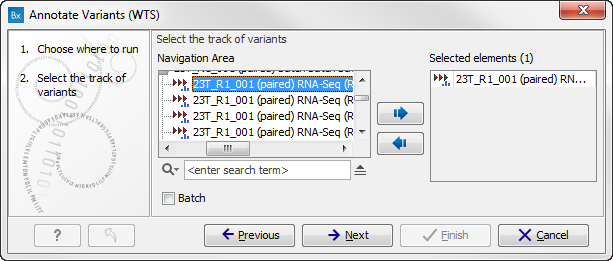
Figure 16.2: Select the variant track to annotate. - Click on the button labeled Next. If you are using the workflow from the Human folder, you should specify which 1000 Genomes population yo use (figure 16.3). This can be done using the drop-down list found in this wizard step. Please note that the populations available from the drop-down list can be specified with the Data Management (
 ) function found in the top right corner of the Workbench (see Download and configure reference data).
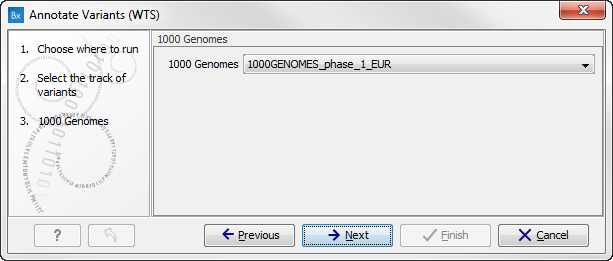
Figure 16.3: Select the relevant 1000 Genomes population(s). - Click on the button labeled Next to go to the last wizard step (figure 16.4).
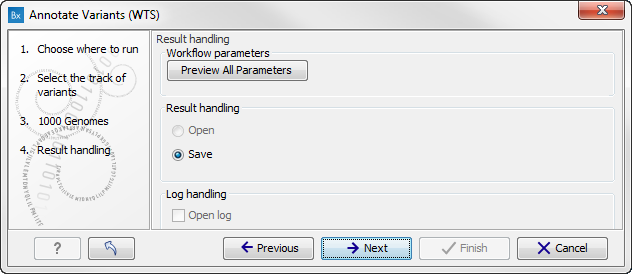
Figure 16.4: Check the settings and save your results.In this wizard step you can check the selected settings by clicking on the button labeled Preview All Parameters. In the Preview All Parameters wizard you can only check the settings, it is not possible to make any changes at this point.
- Choose to Save your results and click on the button labeled Finish.
Two types of output are generated:
- Annotated Variants (
 ) Annotation track showing the variants. Hold the mouse over one of the variants or right-clicking on the variant. A tooltip will appear with detailed information about the variant.
- Genome Browser View Annotated Variants (
 ) A collection of tracks presented together. Shows the annotated variants track together with the human reference sequence, genes, transcripts, coding regions, and variants detected in dbSNP, ClinVar, 1000 Genomes, and PhastCons conservation scores (see figure 16.5).

Figure 16.5: The output from the Annotate Variants ready-to-use workflow is a genome browser view (a track list) containing individual tracks for all added annotations.
Note! Please be aware that if you delete the annotated variant track, this track will also disappear from the genome browser view.
It is possible to add tracks to the Genome Browser View such as mapped sequencing reads as well as other tracks. This can be done by dragging the track directly from the Navigation Area to the Genome Browser View.
If you double-click on the name of the annotated variant track in the left hand side of the Genome Browser View, a table that includes all variants and the added information/annotations will open (see figure 16.6). The table and the Genome Browser View are linked; if you click on an entry in the table, this particular position in the genome will automatically be brought into focus in the Genome Browser View.
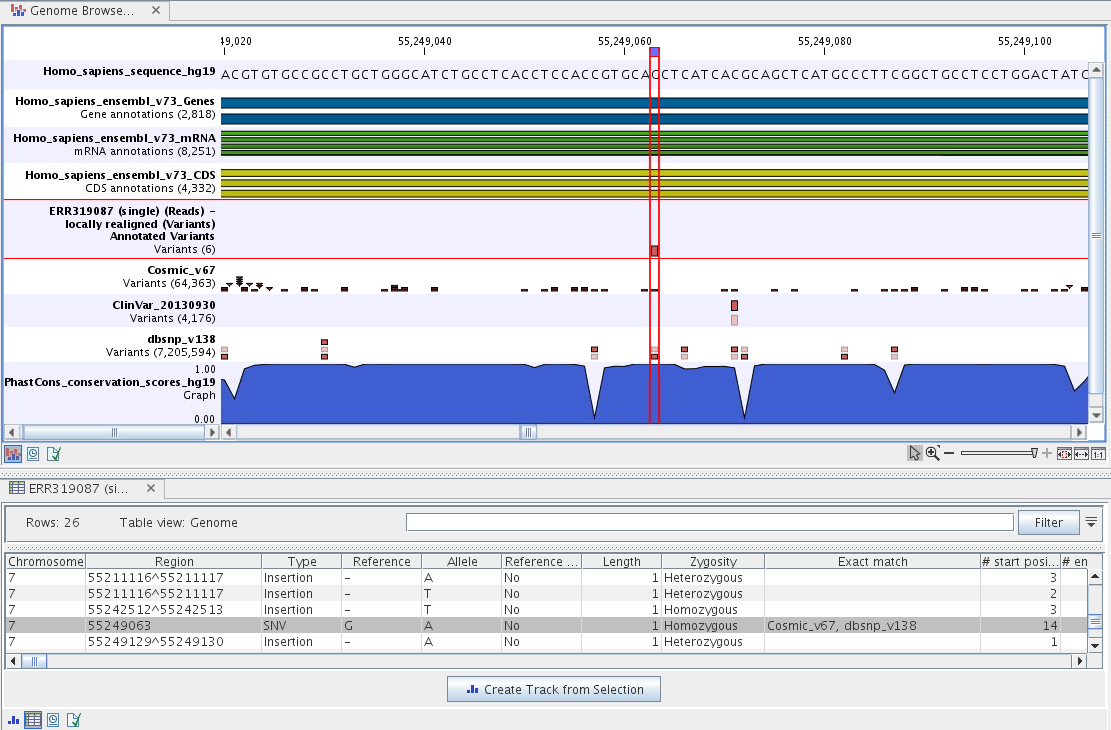
Figure 16.6: The output from the Annotate Variants ready-to-use workflow is a genome browser view (a track list). The information is also available in table view. Click on the small table icon to open the table view. If you hold down the "Ctrl" key while clicking on the table icon, you will open a split view showing both the genome browser view and the table view.
You may be met with a warning as shown in figure 16.7. This is simply a warning telling you that it may take some time to create the table if you are working with tracks containing large amounts of annotations. Please note that in case none of the variants are present in ClinVar or dbSNP, the corresponding annotation column headers are missing from the result.

Figure 16.7: Warning that appears when you work with tracks containing many annotations.
Adding information from other sources may help you identify interesting candidate variants for further research. E.g. known common genetic variants (present in the HapMap database) or variants known to play a role in drug response or other clinical relevant phenotypes (present in the ClinVar database) can easily be identified. Further, variants not found in the ClinVar database, can be prioritized based on amino acid changes in case the variant causes changes on the amino acid level.
A high conservation level between different vertebrates or mammals, in the region containing the variant, can also be used to give a hint about whether a given variant is found in a region with an important functional role. If you would like to use the conservation scores to identify interesting variants, we recommend that variants with a conservation score of more than 0.9 (PhastCons score) is prioritized over variants with lower conservation scores.
It is possible to filter variants based on their annotations. This type of filtering can be facilitated using the table filter found at the top part of the table. If you are performing multiple experiments where you would like to use the exact same filter criteria, you can create a filter that can be saved and reused. To do this:
Toolbox | Identify Candidate Variants (![]() ) | Create Filter Criteria (
) | Create Filter Criteria (![]() )
)
This tool can be used to specify the filter and the Annotate Variants workflow should be extended by the Identify Candidate Tool (configured with the Filter Criterion). The Biomedical Genomics Workbench reference manual has a chapter that describes this in detail (http://www.clcbio.com/support/downloads/#manuals, see chapter: "Workflows" for more information on how pre-installed workflows can be extended and/or edited).
Note! Sometimes the databases (e.g. dbSNP) are updated with a newer version, or maybe you have your own version of the database. In such cases you may wish to change one of the used databases. This can be done with "Data Management" function, which is described in Download and configure reference data.