Adding locations
Per default, there is one location in the Navigation Area called
CLC_Data. It points to the following folder:
- On Windows: C:\Users\<your_username>\CLC_Data
- On Mac: ~/CLC_Data
- On Linux: /homefolder/CLC_Data
You can easily add more locations to the Navigation Area:
File | New |
Location (![]() )
)
This will bring up a dialog where you can navigate to the folder you wish to use as your new location (see figure 3.4).
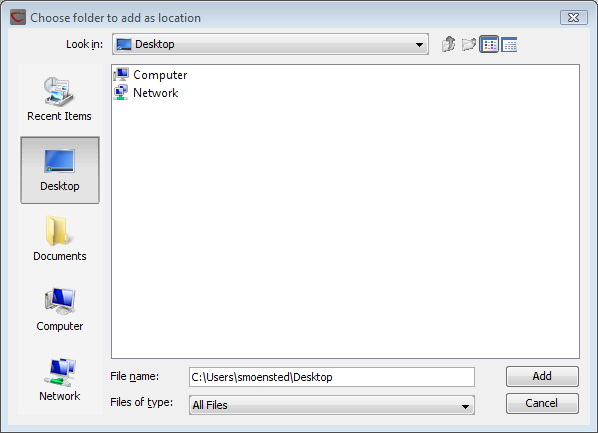
Figure 3.4: Navigating to a folder to use as a new location.
When you click Open, the new location is added to the Navigation Area as shown in figure 3.5.
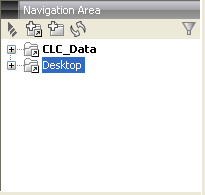
Figure 3.5: The new location has been added.
The name of the new location will be the name of the folder selected
for the location. To see where the folder is located on your computer, place your mouse cursor on the location icon
(![]() ) for a second. This will show the path to the
location.
) for a second. This will show the path to the
location.
Sharing data is
possible if you add a location on a network drive. The procedure is
similar to the one described above. When you add a location on a
network drive or a removable drive, the location will appear
inactive when you are not connected. Once you connect to the
drive again, click Update All (![]() ) and it will become
active (note that there will be a few seconds' delay from you
connect).
) and it will become
active (note that there will be a few seconds' delay from you
connect).