Run the Filter Somatic Variants (TAS) workflow
To run the Filter Somatic Variants (TAS), go to:
Toolbox | Template Workflows | Biomedical Workflows (![]() ) | Targeted Amplicon Sequencing (
) | Targeted Amplicon Sequencing (![]() ) | Somatic Cancer (
) | Somatic Cancer (![]() ) | Filter Somatic Variants (
) | Filter Somatic Variants (![]() )
)
- Double-click on the Filter Somatic Variants (TAS) tool to start the analysis. If you are connected to a server, you will first be asked where you would like to run the analysis.
- Next, you will be asked to select the variant track you would like to use for filtering somatic variants (figure 21.14).
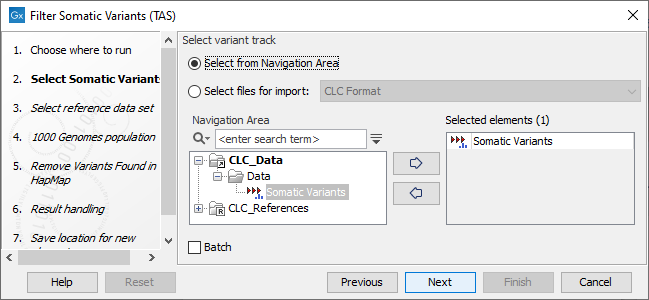
Figure 21.14: Select the variant track from which you would like to filter somatic variants. - In the next dialog, you have to select which data set should be used to filter somatic variants (figure 21.15).

Figure 21.15: Choose the relevant reference Data Set to annotate. - The 1000 Genomes population(s) is bundled in the downloaded reference dataset and therefore preselected in this step. If you want to use another variant track you can browse in the navigation area for the preferred track to use (figure 21.16).
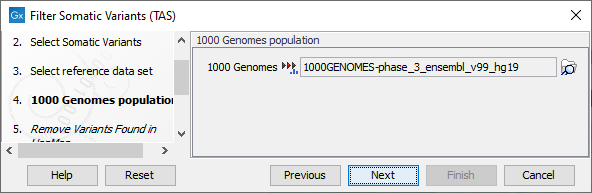
Figure 21.16: Use the preselected 1000 Genomes population(s) or select another variant track. - For databases that provide data from more than one population as HapMap does, the populations relevant to the data set can be specified. Click on the plus symbol (
 ) and choose the population that matches the population your samples are derived from (figure 21.17).Please note that different populations are available and can be downloaded via the Reference Data Manager found in the top right corner of the CLC Workbench.
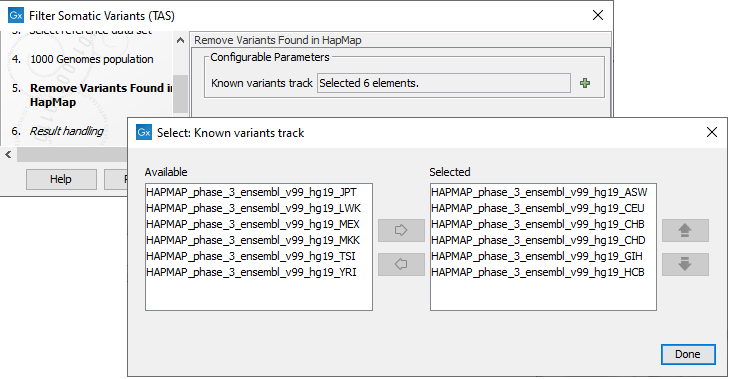
Figure 21.17: Specify which HapMap population to use for filtering out known variants. - In the last wizard step you can check the selected settings by clicking on the button labeled Preview All Parameters.
In the Preview All Parameters wizard you can only check the settings, and if you wish to make changes you have to use the Previous button from the wizard to edit parameters in the relevant windows.
- Choose to Save your results and click Finish.