Associating data elements with metadata
Once a Metadata Table has been saved, data elements - such as, but not restricted to, sequencing reads - may be associated with its rows if it was not already done during import. Association means that you can keep track of the sample to which a particular analysis result pertains without having to resort to data element naming conventions or an elaborate folder structure.
Each association between a particular data element and a row in your Metadata Table will be qualified by a "role" label that indicates what the role of the data element is with respect to your row. For example, a suitable role for a freshly imported data element would be "Sample data". Each analysis tool will subsequently provide its own role labels when transferring the results to the table. As an example, a read mapping tool will assign the role "Un-mapped reads" to the Sequence List it produces, allowing you to keep track of which Sequence List contained the original imported NGS reads, and which contained the un-mapped ones.
To associate read- and metadata automatically: Click Associate Data (![]() ) and select Associate Data Automatically. When using the Associate Data Automatically option, you will be able to select the read files you would like to associate with the metadata (figure 11.4).
) and select Associate Data Automatically. When using the Associate Data Automatically option, you will be able to select the read files you would like to associate with the metadata (figure 11.4).

Figure 11.4: When using the Associate Data Automatically option, the wizard will search among the selected elements (47 in this example) and select the ones with names identical with the Key identifier (here 14).
The role assignment for this association is set by the wizard to "Sample data" (figure 11.5) but can be edited to fit your needs.
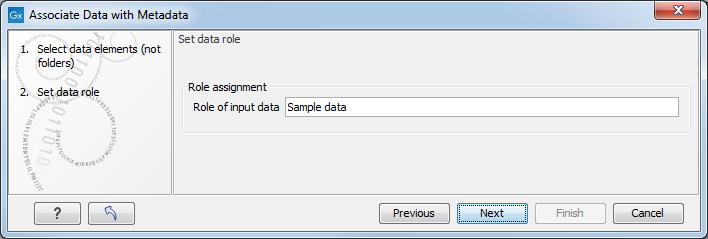
Figure 11.5: Specify the role label for freshly imported data elements.
Sometimes, more data elements correspond to a specific metadata key, or the names of the elements do not match the metadata key value. In these cases, you must associate a given metadata role to one or more data elements manually: Click Associate Data and select Associate Data with row (![]() ), or right click on the row you would like to process. The wizard is the same than the one described above, the difference being that you can only create one association at a time.
), or right click on the row you would like to process. The wizard is the same than the one described above, the difference being that you can only create one association at a time.
When you are done with associating sequencing data and metadata, you can open the sequencing file and check the icon Show Element Info (![]() ) to get a process log that indicates the association between Metadata Table rows and data was successful (figure 11.6).
) to get a process log that indicates the association between Metadata Table rows and data was successful (figure 11.6).

Figure 11.6: The Show Element Info button displays association between the element and the metadata.
Tips when using Metadata Tables:
- A new metadata table must be saved before the association of data elements with metadata is possible.
- Key Column (the unique identifier) information and the name of the sequence data has to be perfectly identical for the automatic association to function (a partial matching scheme refer to the length of the identifier).
- Do not move/import/export the Metadata Table to a new file location, as the Result Metadata Table then loses its references to the Metadata Table, and the data will still be associated to the old and nonexistent file.
- Do not associate the same read file to multiple metadata tables, as this will inhibit the ability to create SNP tree(s) with this file.