How to run the Type a Known Species workflow on a batch of samples:
To be able to run multiple sample data sets in batch mode, the user must initially make a copy of the template workflow, specify a Result Metadata Table and save the copy of the workflow in the Navigation Area before running it.
- Select the workflow Type a Known Species in the toolbox, right-click on the name and choose the option Open Copy of Workflow (figure 10.44).
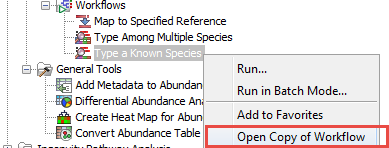
Figure 10.44: Open a copy of a workflow. - This opens a copy of the workflow in the view area of your workbench. Double click on the green tile representing the Result Metadata Table input file (highlighted in red in figure 10.45).
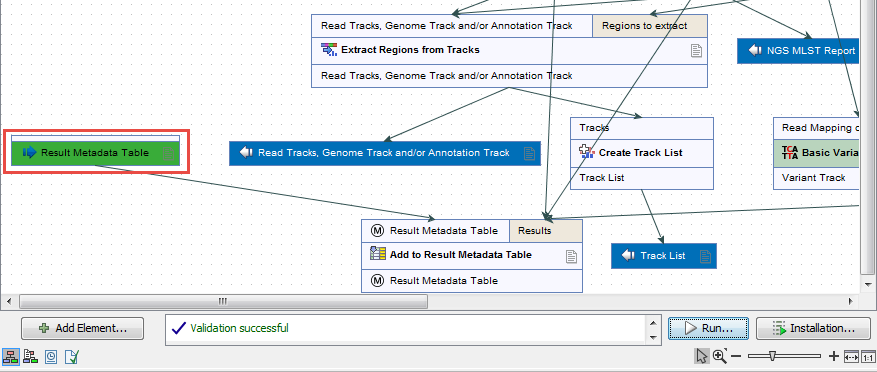
Figure 10.45: Double click on the Result Metadata Table green input file tile. - It opens a window where you have to specify the Result Metadata Table you created for this particular workflow (figure 10.46). Click on Finish.
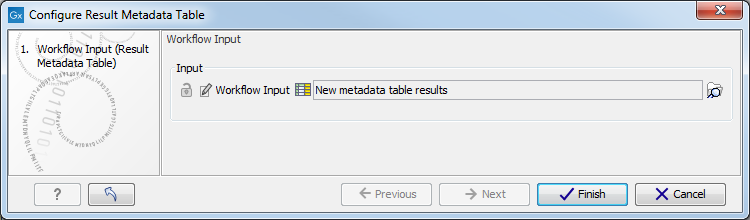
Figure 10.46: Specify the Result Metadata Table you created for running this workflow (here called New metadata table results). - Save you workflow in the Navigation Area.
- You can now click on the button Run at the bottom of the copy of the workflow in the View Area (highlighted in red in figure 10.47).
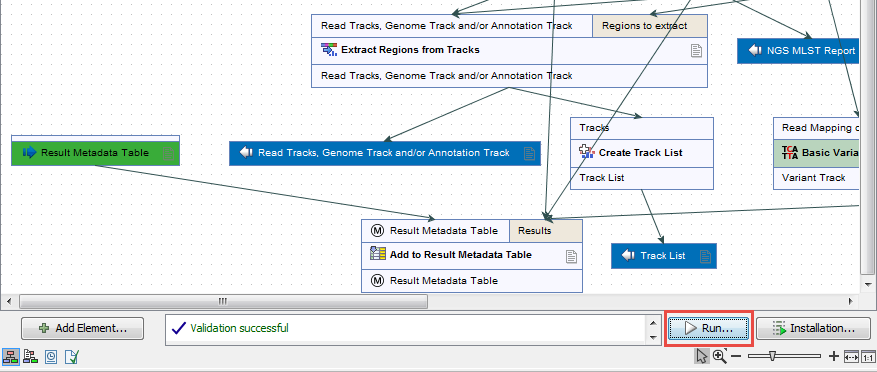
Figure 10.47: Open the copy of the workflow from the Navigation Area and start running it by clicking on the button labeled Run at the bottom of the View Area. - Check the option Batch (highlighted in red in figure 10.48) before selecting several items (samples or folder(s) of samples) to be analyzed. Click Next.
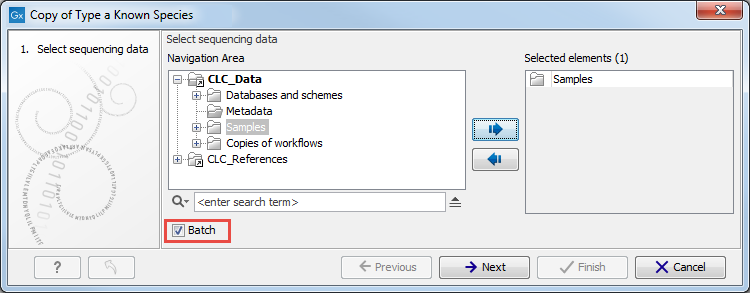
Figure 10.48: Remember to tick the button labeled Batch at the bottom of the wizard window before selecting the folders containing the samples you want to analyze. - The next wizard window gives you an overview of the samples present in the selected folder(s). Choose which of these samples you actually want to analyze in case you are not interested in analyzing all the samples from a particular folder (figure 10.49).
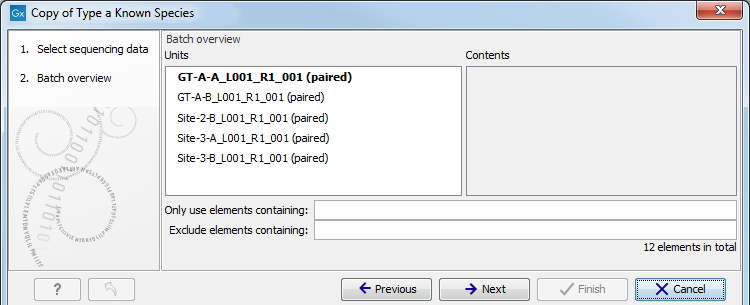
Figure 10.49: Choose which of the samples present in the selected folder(s) you want to analyze. - In the third wizard window, you can see that the Result Metadata Table you specified earlier is already selected. Check that it is indeed the Result Metadata Table you intended to use and click Next.
- The rest of the workflow is similar to the one described in the How to run the Type a Known Species workflow for a single sample section. Refer to this section to understand what parameters can be set, and which outputs are generated.
- In the last Result Handling window, we recommend saving the batch results in separate folders.
Analyzing samples in batch will produce a large amount of output files, making it necessary to filter for the information you are looking for. Through the Result Metadata Table, it is possible to filter among sample metadata and analysis results. By clicking Find Associated Data (![]() ) and optionally performing additional filtering, it is possible to perform additional analyses on a selected subset directly from this Table, such as:
) and optionally performing additional filtering, it is possible to perform additional analyses on a selected subset directly from this Table, such as:
- Generation of SNP trees based on the same reference used for read mapping and variant detection (section 13.1).
- Generation of K-mer Trees for identification of the closest common reference across samples (section 13.2).
- Run validated workflows (workflows that are associated with a Result Metadata Table and saved in your Navigation Area).