Create a Result Metadata Table
Once the Metadata Table rows are associated to sample data, it is possible to generate a Result Metadata Table. Go to:
Microbial Genomics Module (![]() ) | Typing and Epidemiology (beta) (
) | Typing and Epidemiology (beta) (![]() ) | Result Metadata (
) | Result Metadata (![]() ) | Create Result Metadata Table (
) | Create Result Metadata Table (![]() )
)
A dialog as shown in figure 9.7 is then displayed. Select the Metadata Table, click Next, select Save, specify location and click Finish.
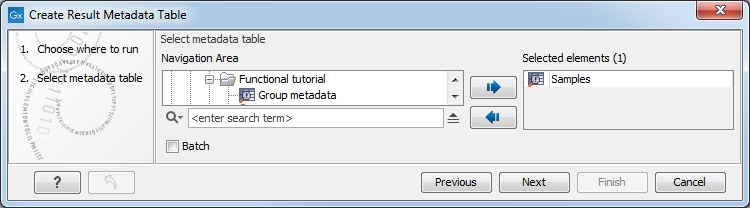
Figure 9.7: Creation of a Result Metadata Table from a Metadata Table.
A new Result Metadata Table has now been created.
When first opening the created Result Metadata Table, it is empty, as no analysis results have yet been generated (figure 9.8).
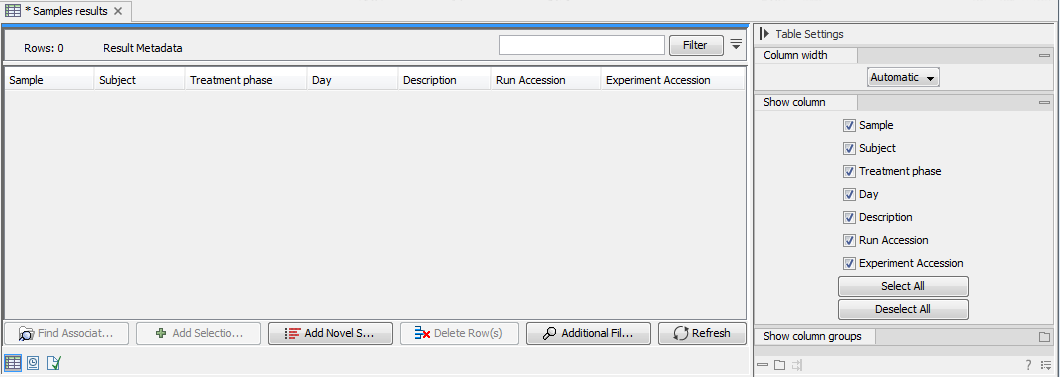
Figure 9.8: The created Result Metadata Table is empty as no analysis results has been produced yet.
Novel (= not yet analyzed) samples can be added manually to the table by clicking the Add Novel Samples (![]() ) button. The following message will appear: Any available novel samples have now been added and all available novel sample(s) will be listed in the Metadata Result Table. In yellow is listed the available Metadata associated to the Novel samples, while analysis Result Metadata fields are still empty. Figure 9.9 is an example were a single novel sample has been added to the analysis Result Metadata Table.
) button. The following message will appear: Any available novel samples have now been added and all available novel sample(s) will be listed in the Metadata Result Table. In yellow is listed the available Metadata associated to the Novel samples, while analysis Result Metadata fields are still empty. Figure 9.9 is an example were a single novel sample has been added to the analysis Result Metadata Table.
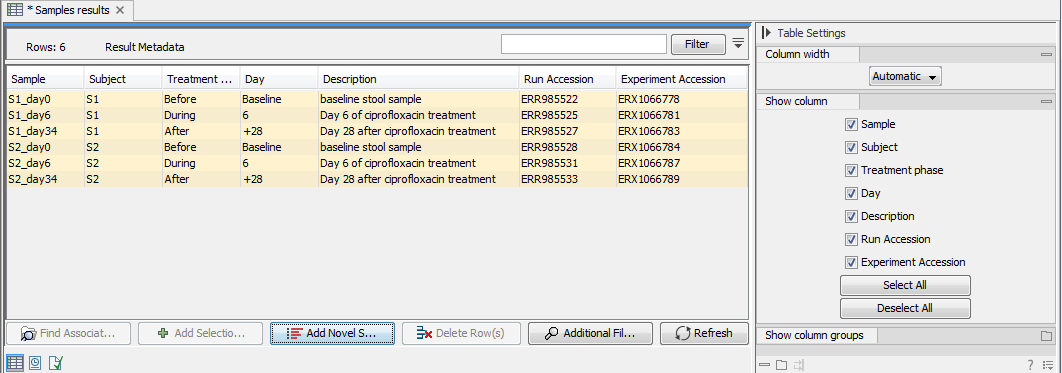
Figure 9.9: By clicking the "Add Novel Samples button", a row including the Metadata of the novel Salmonella sample is now added to the otherwise empty Result Metadata Table.
If for some reason Result Metadata row(s) are not needed, they can be deleted from the table by selecting them and clicking on the Delete Row(s) (![]() ) button.
) button.
To find files associated to specific Metadata rows, select the sample row(s) of interest and click on Find Associated Data (![]() ). This action will list all associated files in a new Metadata Element window located below the Metadata window as shown in figure 9.10.
). This action will list all associated files in a new Metadata Element window located below the Metadata window as shown in figure 9.10.
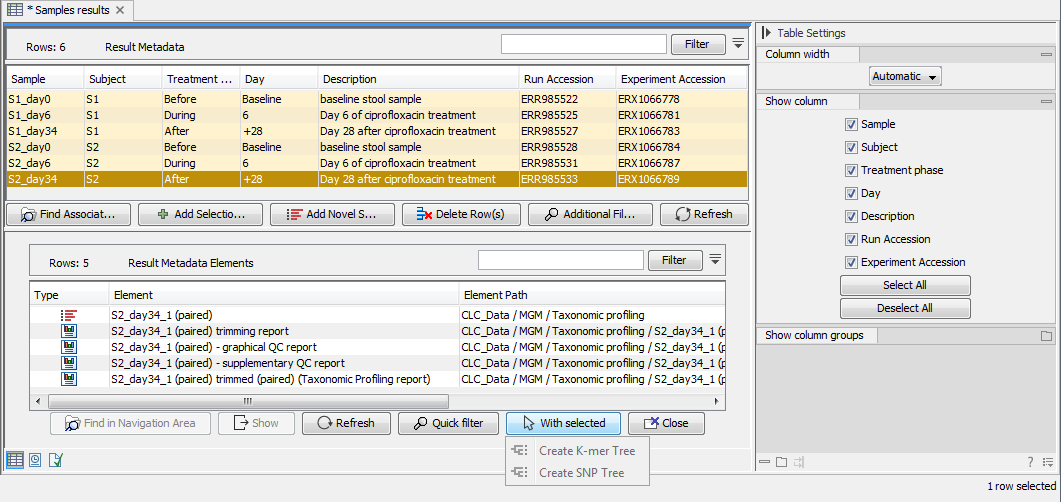
Figure 9.10: The Metadata Element window at the bottom part of this figure lists all data associated to the selected Result Metadata row shown in the top window. In this example, only the imported read file is associated to the single metadata row. Note! Workflow analysis can be initiated directly on "With selected" Elements.
In most cases, analysis results will be added automatically to the Result Metadata Table when using a properly designed workflow or certain tools from the module. It is also possible to add manually generated analysis results to the table using the Add to Result Metadata.