How to use the Align Contigs tool
Following the alignment of contigs, two tables are created:
- The Contig table, which gives an overview of the contigs (figure 2.3). This table will be the one that opens per default when running the contig alignment (
 ).
).
- The Contig match table, which lists all matches found by BLAST between the contigs and the reference sequences (figure 2.4). This table can be opened by clicking on (
 ) in the bottom left corner.
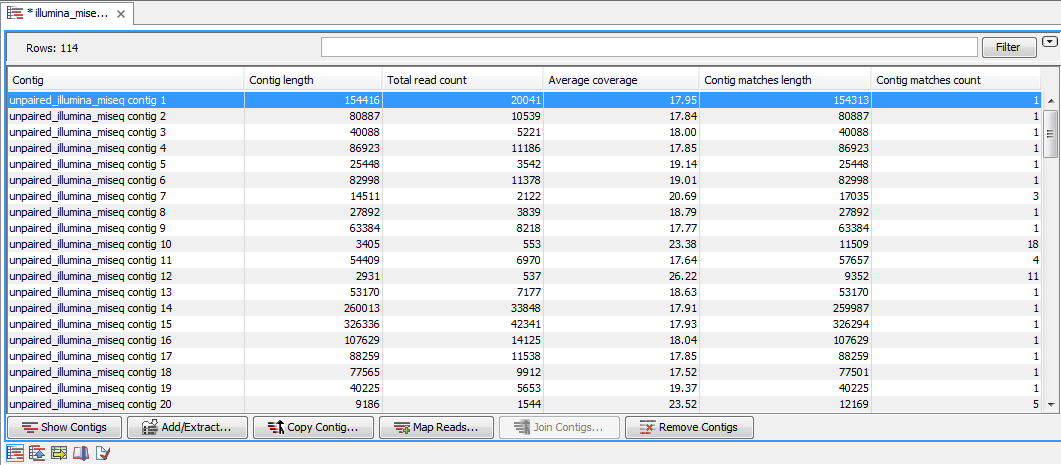
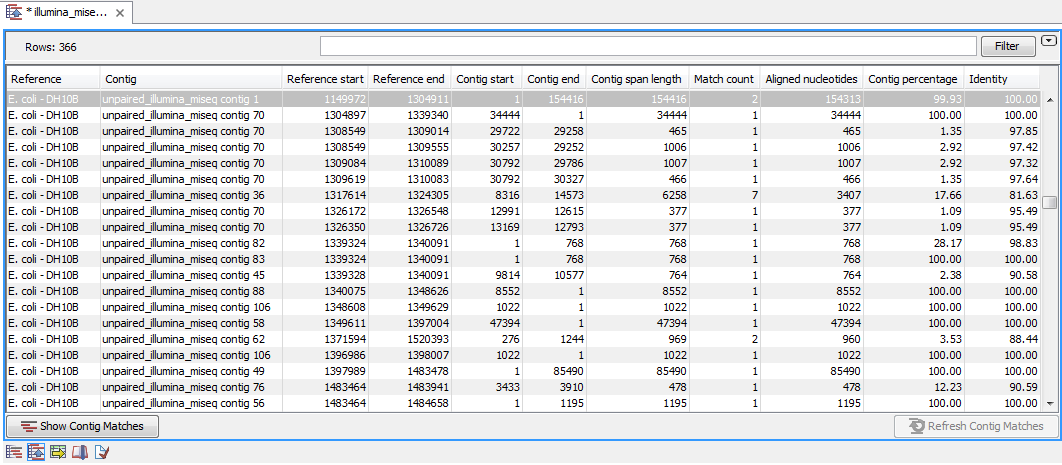
Figure 2.4: The Contig match table
The two tables complement each other and are both very useful in the finishing procedure. Besides listing contigs and matches between contigs and references, the tables also give access to a number of functions for manipulating contigs such as editing the contig sequence, joining contigs and splitting them. One of the most important features is the visualization of contig matches, which can give a quick overview of how contigs align to a reference genome. The visualization also gives direct access to several tools for manipulating the contigs, thus providing a quick and intuitive way of working with the contigs.
Subsections