How to run the Identify and Annotate Variants (WES-HD) workflow
This section recapitulates the steps you need to take to start the workflow, each item corresponding to a different wizard windows. For more information on the specific tools used in this workflow, see Hereditary Disease.
To run the Identify and Annotate Variants (WES-HD) workflow, go to:
Toolbox | Ready-to-Use Workflows | Whole Exome Sequencing (![]() ) | Hereditary Disease (
) | Hereditary Disease (![]() ) | Identify and Annotate Variants (WES-HD) (
) | Identify and Annotate Variants (WES-HD) (![]() )
)
- Double-click on the Identify and Annotate Variants (WES-HD) tool to start the analysis. If you are connected to a server, you will first be asked where you would like to run the analysis.
- Select the sequencing reads you want to analyze (figure 16.77).
The panel in the left side of the wizard shows the kind of input that should be provided. Select by double-clicking on the reads file name or click once on the file and then on the arrow pointing to the right side in the middle of the wizard.

Figure 16.77: Specify the sequencing reads for the appropriate family member. - Specify which 1000 Genomes population you would like to use (figure 16.78).
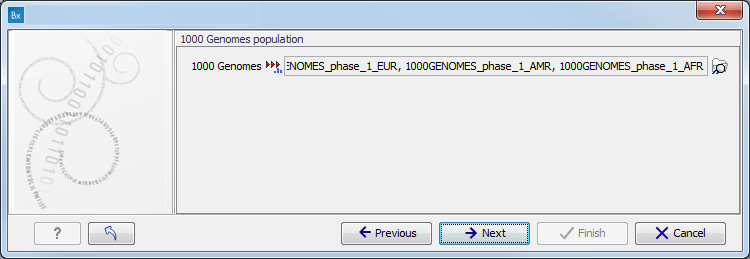
Figure 16.78: Select the relevant 1000 Genomes population(s). - Specify a target region file for the Indels and Structural Variants tool.
(figure 16.79).
The targeted region file is a file that specifies which regions have been sequenced, when working with whole exome sequencing or targeted amplicon sequencing data. This file is something that you must provide yourself, as this file depends on the technology used for sequencing. You can obtain the targeted regions file from the vendor of your targeted sequencing reagents.
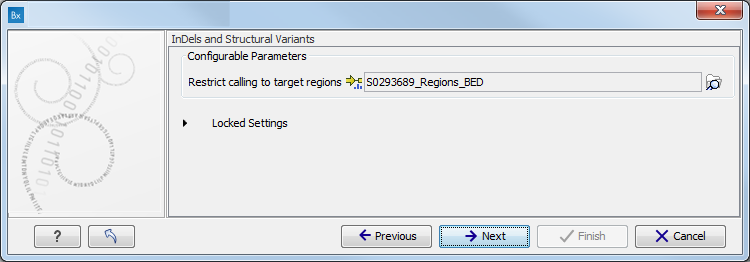
Figure 16.79: Specify the parameters for the Indels and Structural Variants tool. - Specify the Fixed Ploidy Variant Detection settings, including a target region file (figure 16.80).
The parameters used by the Fixed Ploidy Variant Detection tool can be adjusted. We have optimized the parameters to the individual analyses, but you may want to tweak some of the parameters to fit your particular sequencing data. A good starting point could be to run an analysis with the default settings.
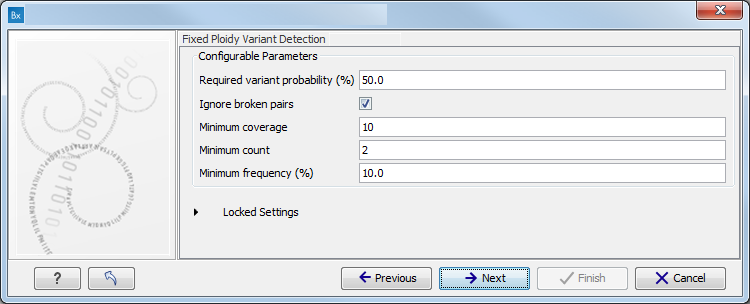
Figure 16.80: Specify the parameters for the Fixed Ploidy Variant Detection tool.The parameters that can be set are:
- Required variant probability is the minimum probability value of the 'variant site' required for the variant to be called. Note that it is not the minimum value of the probability of the individual variant. For the Fixed Ploidy Variant detector, if a variant site - and not the variant itself - passes the variant probability threshold, then the variant with the highest probability at that site will be reported even if the probability of that particular variant might be less than the threshold. For example if the required variant probability is set to 0.9 then the individual probability of the variant called might be less than 0.9 as long as the probability of the entire variant site is greater than 0.9.
- Ignore broken pairs: When ticked, reads from broken pairs are ignored. Broken pairs may arise for a number of reasons, one being erroneous mapping of the reads. In general, variants based on broken pair reads are likely to be less reliable, so ignoring them may reduce the number of spurious variants called. However, broken pairs may also arise for biological reasons (e.g. due to structural variants) and if they are ignored some true variants may go undetected. Please note that ignored broken pair reads will not be considered for any non-specific match filters.
- Minimum coverage: Only variants in regions covered by at least this many reads are called.
- Minimum count: Only variants that are present in at least this many reads are called.
- Minimum frequency: Only variants that are present at least at the specified frequency (calculated as 'count'/'coverage') are called.
For more information about the tool, see Fixed Ploidy Variant Detection.
- Specify the parameters for the QC for Target Sequencing tool, including a target region file (figure 16.81).
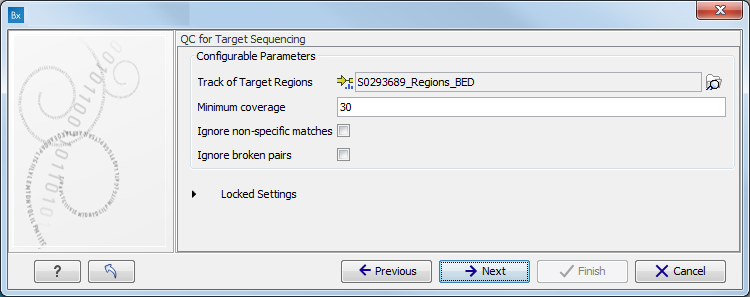
Figure 16.81: Specify the parameters for the QC for Target Sequencing tool.The parameters that can be set are:
- Minimum coverage provides the length of each target region that has at least this coverage.
- Ignore non-specific matches: reads that are non-specifically mapped will be ignored.
- Ignore broken pairs: reads that belong to broken pairs will be ignored.
For more information about the tool, see QC for Target Sequencing.
- Specify a targeted region file to remove variants outside of this region.
(figure 16.82)
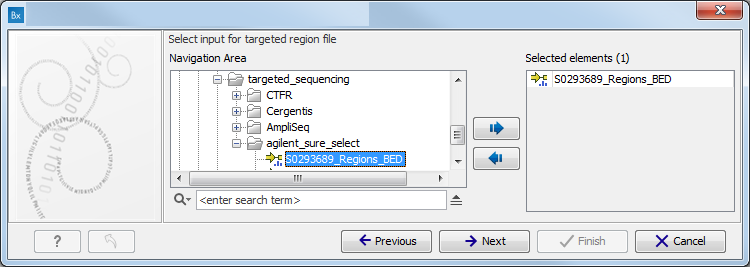
Figure 16.82: Select the targeted region file you used for sequencing. - Specify the 1000 Genomes population that should be used to add information on variants found in the 1000 Genomes project.
This can be done using the drop-down list found in this wizard step. Please note that the populations available from the drop-down list can be specified with the Data Management (
 ) function found in the top right corner of the Workbench (see Download and configure reference data).
- Specify the Hapmap population that should be used to add information on variants found in the Hapmap project.
This can be done using the drop-down list found in this wizard step. Please note that the populations available from the drop-down list can be specified with the Data Management () function found in the top right corner of the Workbench (see Download and configure reference data).
- Pressing the button Preview All Parameters allows you to preview all parameters. At this step you can only view the parameters, it is not possible to make any changes. Choose to save the results and click on the button labeled Finish.