Handling results
In the "Result handling" wizard step, options relating to the outputs to generate, and how to handle these outputs, are presented (figure 12.7).
Output options
Any options available relating to the types of results an analysis should generate are presented in the "Output options" area (figure 12.7).
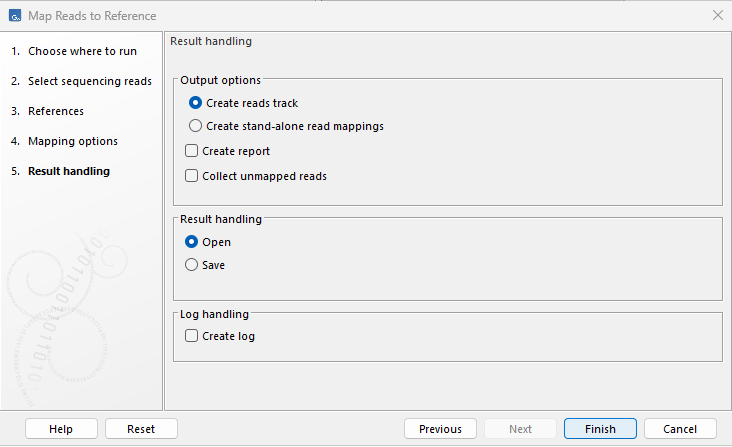
Figure 12.7: Options relating to the outputs to generate are presented in the "Output options" area.
Creating an analysis log
Check the "Create log" option in the "Log handling" section to create a log containing information about each step taken by a tool (figure 12.8), including information about any problems encountered. For workflows, this log contains information relating to all the steps carried out (figure 12.9).
Creating an analysis log is optional when running jobs on a CLC Workbench (figure 12.10) and mandatory when running a job in other execution environments (figure 12.11). If results are to be saved (see below), the log file is saved to the same location specified for the results. If results are to be directly opened in the viewing area, the log file is also opened.
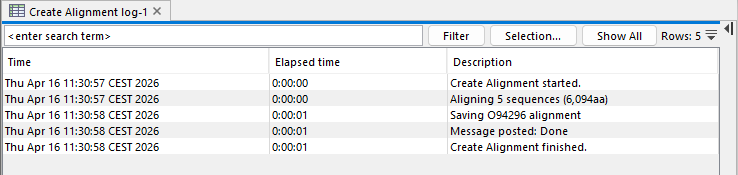
Figure 12.8: The log created for a Create Alignment analysis.
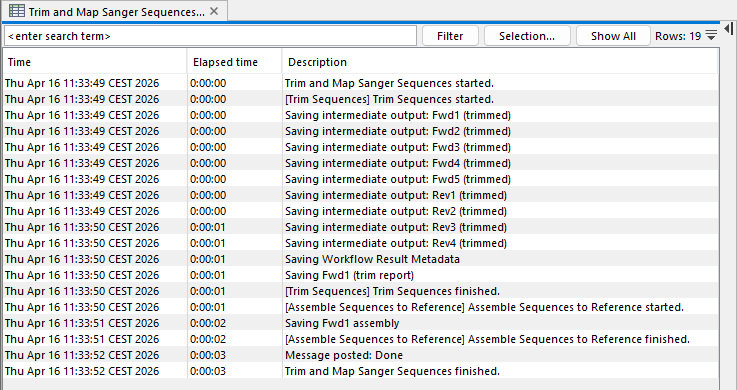
Figure 12.9: The log created for a run of the Trim and Map Sanger Sequences template workflow.
Open or save results
When running an analysis on a CLC Workbench, results can be opened directly or saved (figure 12.10). Using other execution environments, results are always saved (figure 12.11).
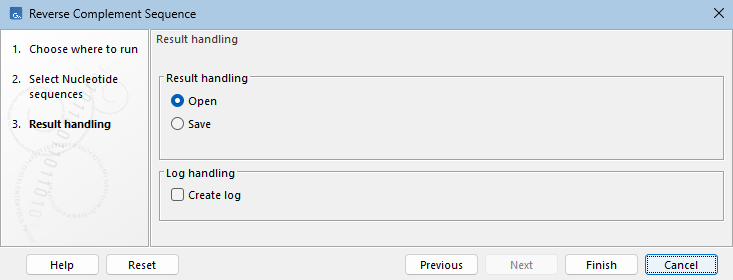
Figure 12.10: This analysis will be run on the CLC Workbench, and results will be opened directly in the viewing area. No analysis log will be generated.
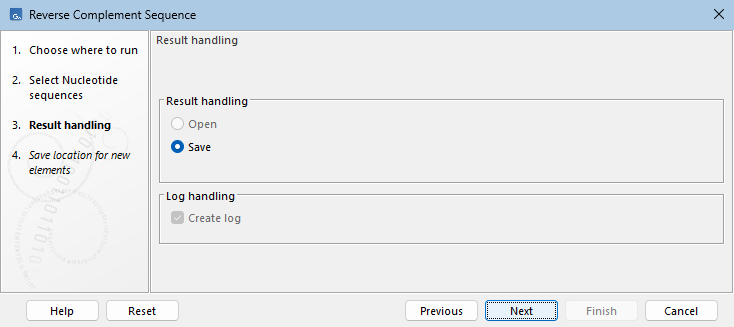
Figure 12.11: This analysis will be run on a CLC Server. The Open option is disabled and the Create log option is checked and cannot be unchecked. Results will be saved to the location specified in the next wizard step.
When results are to be saved, a final wizard step "Save location for new elements" is present, and the location to save results to is specified there (figure 12.12).
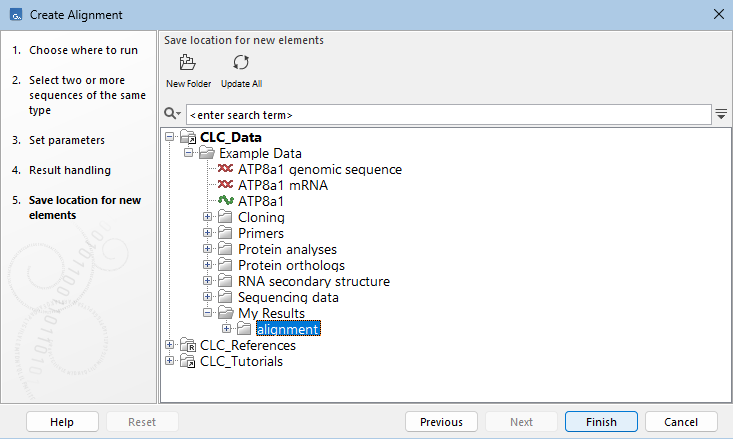
Figure 12.12: A final wizard step "Save location for new elements" is present if the results are to be saved.
Using the Processes tab to find results and open the analysis log
The progress of each process is provided in the Processes tab, located in the Toolbox in the bottom left side of the Workbench. A quick way to find saved results is to click on the little arrow to the right of a completed process and choose the option "Show results" or "Find Results", as shown in figure 12.13. The analysis log can also be opened for viewing at any time by selecting the "Show Log Information" option in that menu.
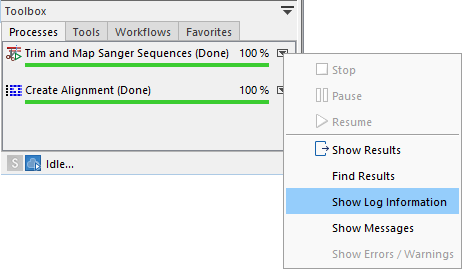
Figure 12.13: Find or open the analysis results, or open the analysis log, using options in the menu opened by clicking on the arrow to the right of the analysis name in the Processes tab.
Notes relating to opening results directly
The option to Open results is available when an analysis will be run on a CLC Workbench. When selected, the analysis results are opened directly in the viewing area. They are not saved automatically. The unsaved state is reflected by the name of each tab being in bold and appended with an asterisk. Methods to save open results include:
- Select the tab and then use the key combination Ctrl + S (or
 + S on macOS).
- Right click on the tab and choose "Save" from the context menu.
- Use the "Save" button in the Workbench toolbar.
- Go to the File menu and select the option "Save" or "Save As...".
- Drag the tab to the relevant location in the Navigation Area.