Submitting samples for analysis
Submitting samples for analysis is done on the Analyses tab seen in figure 2.4. Submitting samples for analysis is a two-step process:
- Select the desired workflow in the drop-down menu.
- If sample files should be grouped using a sample sheet, select the sample sheet in the online browser and click Submit. All the sample files residing in the same folder tree as the sample sheet will be grouped according to the information in the sample sheet. If a sample sheet is not present, select one or more sample files or folders in the online browser and click Submit. After clicking Submit, a dialog will open which displays the samples in the provided selection (see figure 2.5). An optional batch ID can be provided if the results from the submitted analyses should be saved inside a folder with the provided ID as a name.
After submitting the samples, the analysis jobs will show up in the job monitor. Detailed information about a given job will be displayed in the information box on the right after clicking the job in the job monitor.
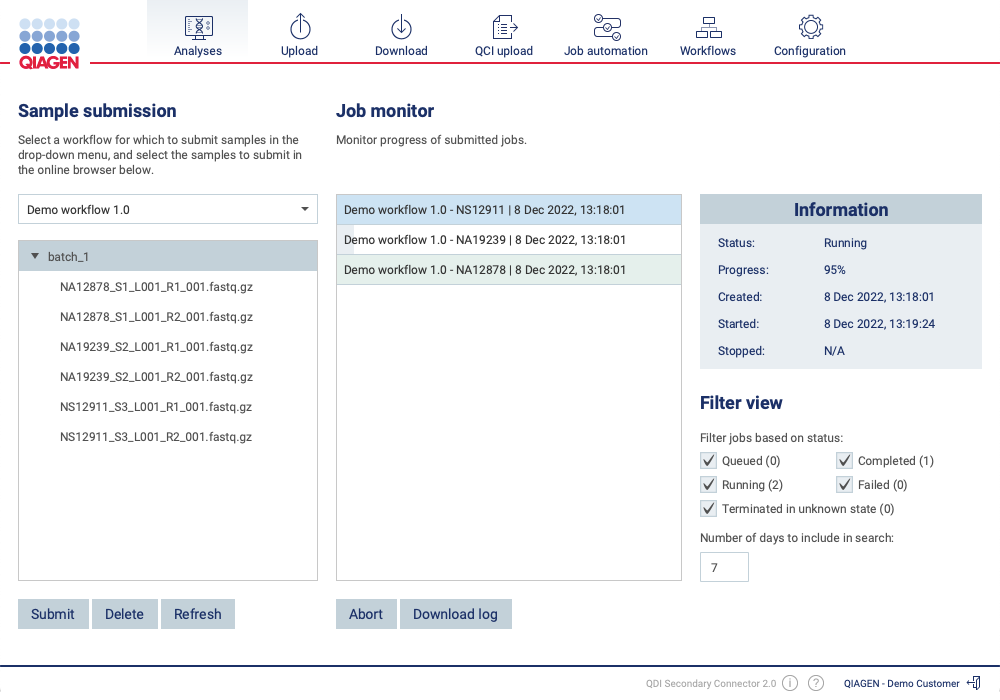
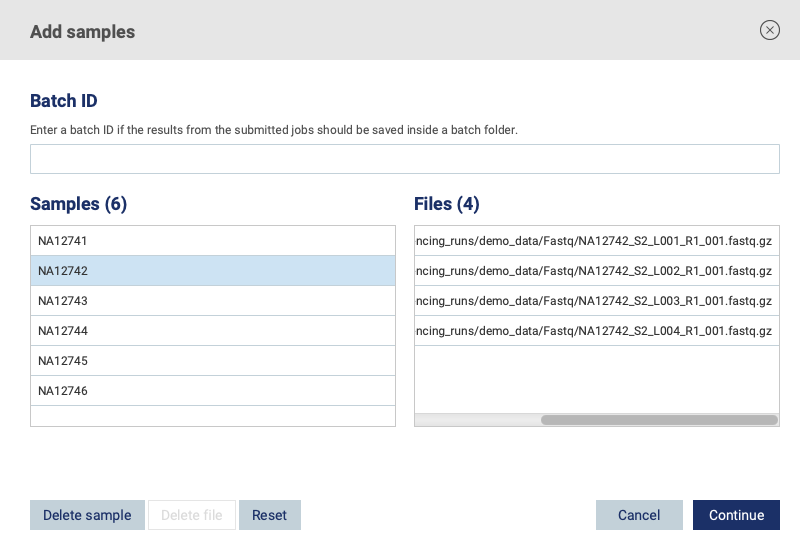
Figure 2.5: Manual submission of samples
Subsections