Job automation
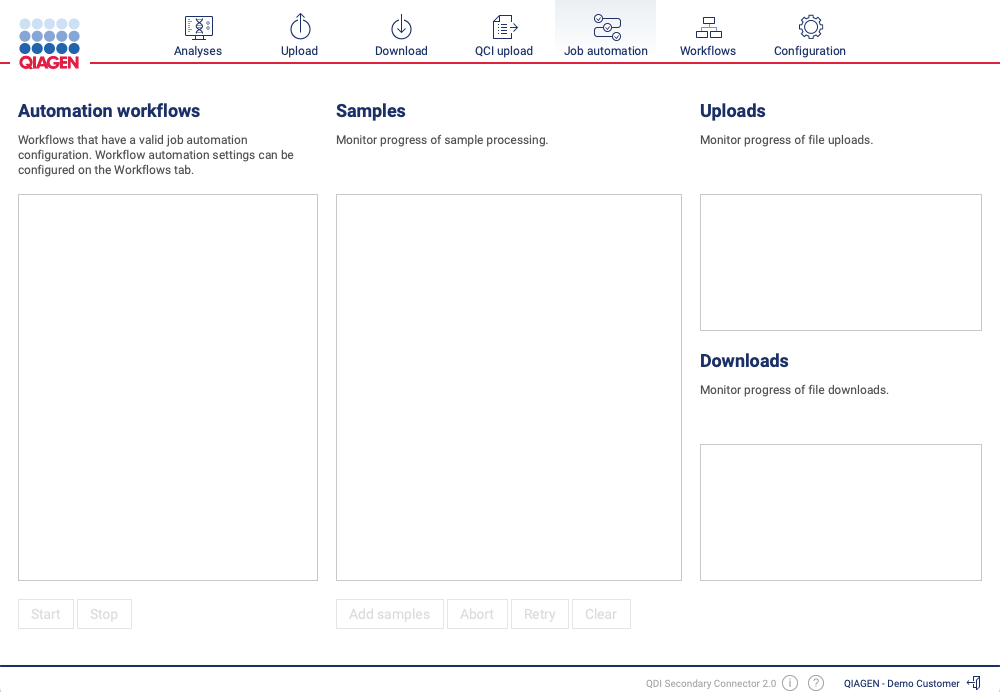
The connector supports automation of the process from sample detection to QCI upload using the Job automation tab seen in figure 2.7. Before automation can be enabled for a workflow, it must be configured as described in Configuring automation settings. Once a valid automation configuration has been provided, the workflow will appear in the list of automation workflows.
Starting and stopping automation
Automation can be turned on and off by selecting the workflow and clicking the Start and Stop buttons, respectively.
Monitoring progress of automated sample
Once a sample produced by the sequencer has been detected, it will show up in the list of samples if the workflow has been selected in the workflow list. The sample view will display the progress of the sample through the various automation stages. If a sample is selected, the list of uploaded and downloaded files related to the sample will be displayed in the transfer monitors on the right side of the tab.
Manual submission of automated samples
If automation was disabled while the sequencer produced sample files, it is possible to start the automation process manually by clicking the Add samples button. This will open a dialog where sample files can be added (see figure 2.8).
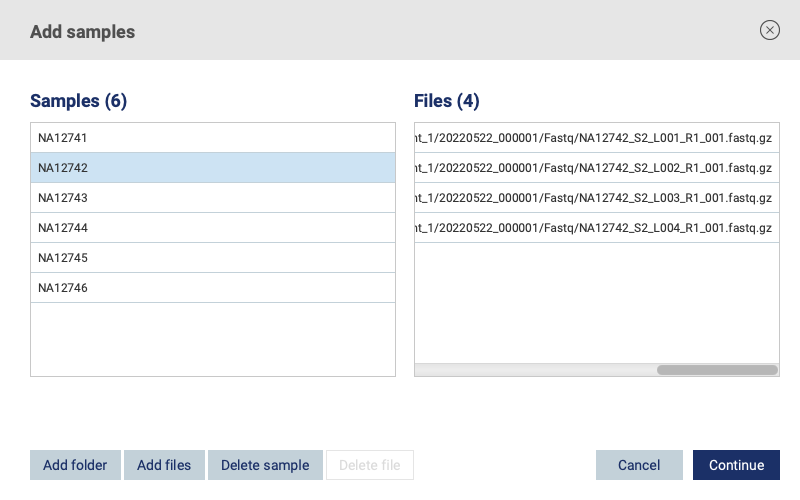
Figure 2.8: Manual submission of automated samples