Installing the Server software
The installation can only be performed by a user with administrative privileges. On some operating systems, you can double click on the installer file icon to begin installation. Depending on your operating system you may be prompted for your password (as shown in figure 2.2) or asked to allow the installation to be performed.
- On Windows 7 or Vista, you will need to right click on the installer file icon, and choose to Run as administrator.
- For the Linux-based installation script, you would normally wish to install to a central location, which will involve running the installation script as an administrative user - either by logging in as one, or by prefacing the command with sudo. Please check that the installation script has executable permissions before trying to execute it.
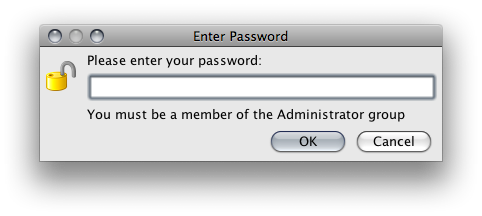
Figure 2.2: Enter your password.
Next you will be asked where to install the server 2.3. If you do not have a particular reason to change this, simply leave it at the default setting. The chosen directory will be referred to as the server installation directory throughout the rest of this manual.
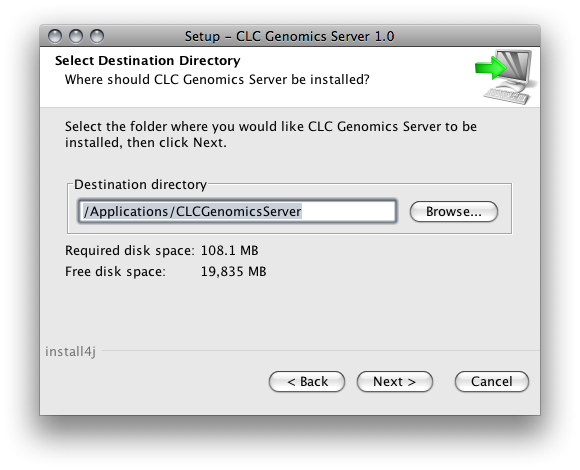
Figure 2.3: Choose where to install the server.
The installer allows you to specify the maximum amount of memory the CLC Server will be able to utilize 2.4. The range of choice depends on the amount of memory installed on your system and on the type of machine used. On 32 bit machines you will not be able to utilize more than 2 GB of memory - on 64-bit machines there is no such limit.
If you do not have a reason to change this value you should simply leave it at the default setting.
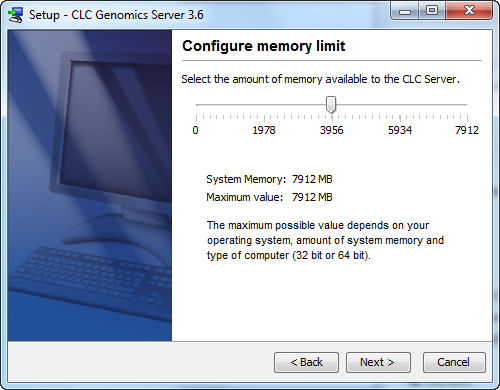
Figure 2.4: Choose the maximum amount of memory used by the server.
If you are installing the server on a Windows system you will be able to choose if the service is started manually or automatically by the system.
The installer will now extract the necessary files.
On a Windows system, if you have chosen that the service should be started automatically, the service should also start running at this point. Please note that if you do not already have a license file installed, then the CLC Science Server process will be running in a limited capacity at this point. Downloading a license is described in section 2.7.
Information on stopping and starting the CLC Science Server service is provided in section 2.8.