Fastq to Annotated Somatic Variants (Tumor Normal) with Coverage Analysis
The Fastq to Annotated Somatic Variants (Tumor Normal) with Coverage Analysis template workflow:
- Identifies somatic variants from tumor normal reads and annotates these with exon number and amino acid changes.
- Produces a tumor read mapping and a normal read mapping.
- Reports coverage at target and gene level for tumor and normal.
The workflow can only be used with targeted data.
The runtime of this workflow is significantly longer than the runtime of Fast to Annotated Somatic Variants (Tumor Normal) (Fastq to Annotated Somatic Variants), because a read mapping track is saved.
Fastq to Annotated Somatic Variants (Tumor Normal) with Coverage Analysis can be found at:
Template Workflows | LightSpeed Workflows (![]() ) | Fastq to Annotated Somatic Variants (Tumor Normal) with Coverage Analysis (
) | Fastq to Annotated Somatic Variants (Tumor Normal) with Coverage Analysis (![]() )
)
If you are connected to a CLC Server via your Workbench, you will be asked where you would like to run the analysis. We recommend that you run the analysis on a CLC Server when possible.
In the first wizard step, select the target regions (figure 4.22).
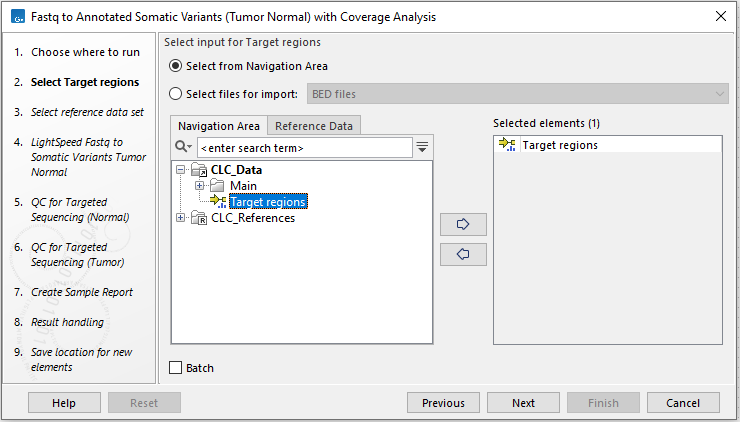
Figure 4.22: Select the target regions.
Next, select a Reference Data Set (figure 4.23). If you have not downloaded the Reference Data Set yet, the dialog will suggest the relevant data set and offer the opportunity to download it using the Download to Workbench button.
If none of the available reference data sets are appropriate, custom reference data sets can be created, see http://resources.qiagenbioinformatics.com/manuals/clcgenomicsworkbench/current/index.php?manual=Custom_Sets.html.
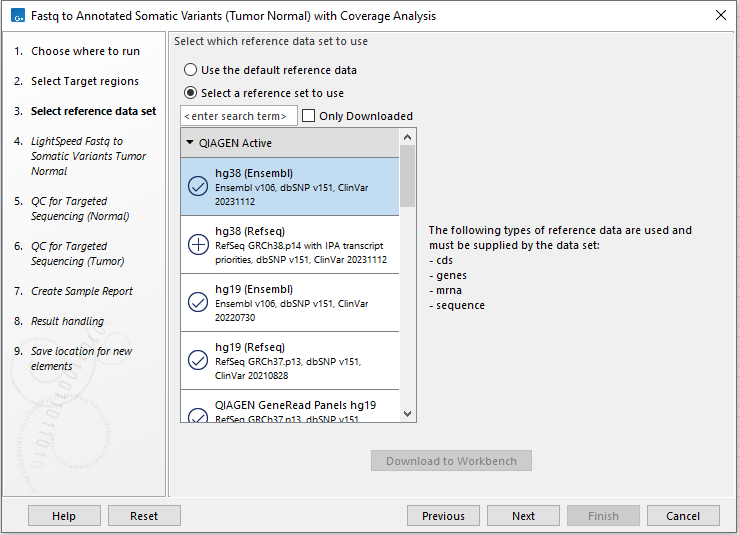
Figure 4.23: Select a reference data set.
In the LightSpeed Fastq to Somatic Variants (Tumor Normal) wizard step (figure 4.24) you have the following options:
- Tumor reads (fastq) Press Browse to select fastq files for the tumor reads.
- Normal reads (fastq) Press Browse to select fastq files for the normal reads.
- Masking mode To enable reference masking when mapping reads, set this option and select a masking track.
- Masking track Provide a masking track for the chosen reference genome if reference masking has been enabled.
- Discard duplicate mapped reads Duplicate mapped reads are per default replaced with a consensus read. Untick if duplicate mapped reads should be retained. See Deduplication for additional details.
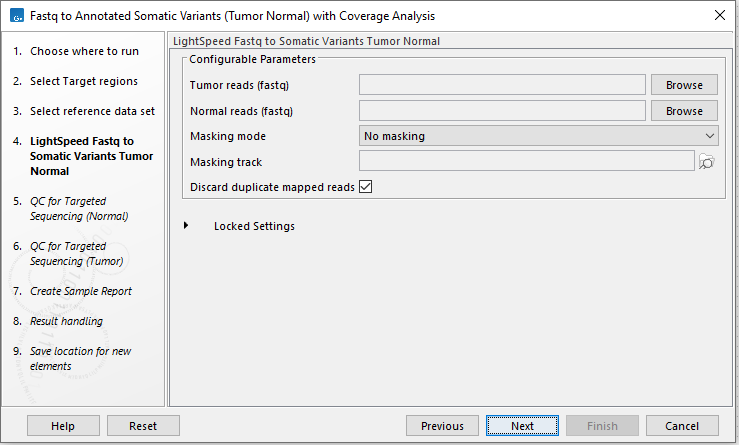
Figure 4.24: Select fastq files.
In the next two wizard steps, define the threshold for minimum coverage for the normal (figure 4.25) and for the tumor (figure 4.26), respectively. These thresholds are important because they are used in the quality control section of the sample report. In the later wizard step for Create Sample Report, you will be able to adjust the percent bases in the target regions that should meet the thresholds.
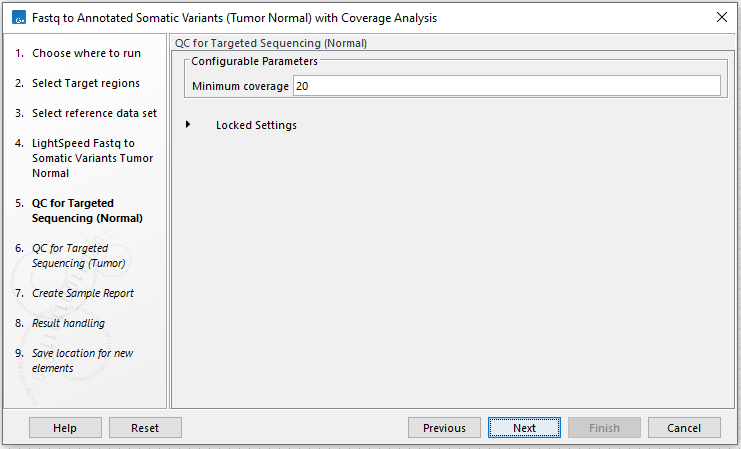
Figure 4.25: Set the coverage threshold for the normal sample. This threshold is used in the quality control section of the sample report.
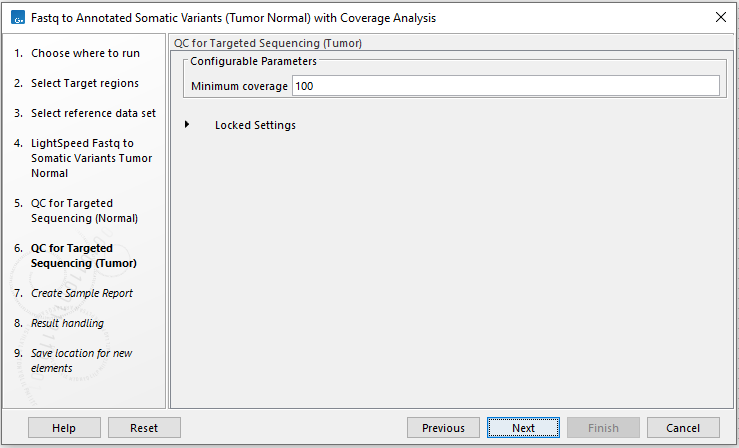
Figure 4.26: Set the coverage threshold for the tumor sample. This threshold is used in the quality control section of the sample report.
In the Create Sample Report wizard step, select relevant summary items and specify thresholds for quality control (figure 4.27). Summary items, thresholds and an indication of whether specified thresholds were met, will be shown in the quality control section of the sample report. The default summary items are appropriate for many data sets, but may need to be adjusted.
To add more summary items, press Add..., choose the report type Lightspeed fastq to somatic variants tumor normal and select summary items as appropriate.
There are two instances of QC for Targeted Sequencing in the workflow. One for the normal read mapping and one for the tumor read mapping. To be able to add information from both the normal and the tumor reports from QC for Targeted Sequencing to the sample report, the reports are retyped using the Modify Report Type tool. To select additional summary items for the two reports, the following steps are needed: After pressing Add..., select the QC for targeted sequencing report type. Then check "Apply to custom report type" and write either "QC for Targeted Sequencing (Normal)" or "QC for Targeted Sequencing (Tumor)" as relevant before selecting summary items.
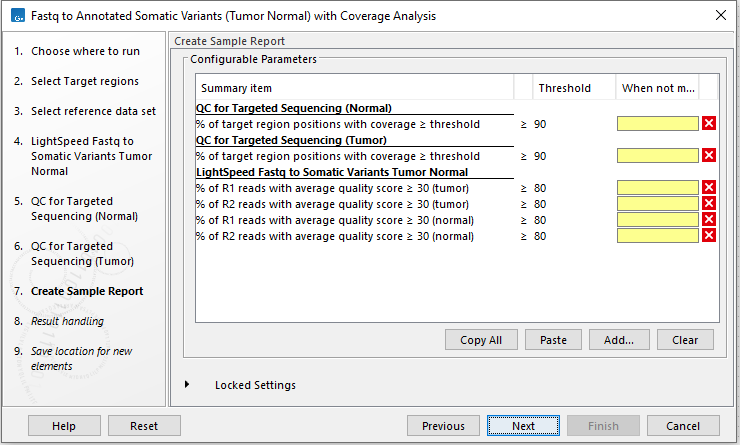
Figure 4.27: Specify summary items. These will be shown in the quality control section of the sample report.
In the final wizard step, choose to Save the results of the workflow and specify a location in the Navigation Area before clicking Finish.
Subsections