Updating workflows
Upon opening a workbench, a dialog listing the workflows that need to be updated appears if at least one workflow needs updating (figure 11.58).
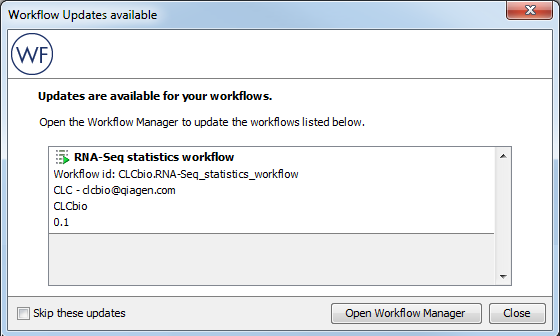
Figure 11.58: The Workflow Updates available dialog lists workflows that need updating.
A workflow listed in that dialog must be updated before it can be used. Please note that:
- When you update a workflow, the older version is overwritten.
- If new parameters have been added to a tool as part of the update, these parameters will be set to their default values within the updated workflow. To see a list of the parameters that may be affected by the update, open the workflow needing updating in the View Area (figure 11.59).
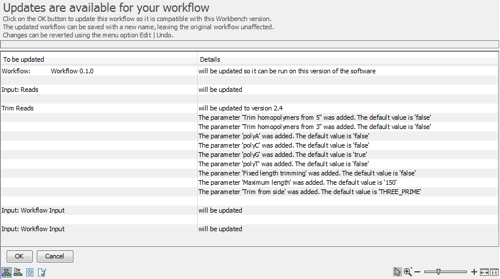
Figure 11.59: The workflow update editor lists tools and parameters that will be updated.
Updating workflows from the Toolbox or the Navigation area
Opening a workflow that needs updating, whether the workflow sits in the Navigation Area or the Toolbox, will open an editor listing the tools that will be updated and the parameters that may be reset to their default value. Click on the OK button at the bottom of the editor to update the workflow. The updated workflow can be saved under a new name, leaving the original workflow unaffected. In addition, changes can be reverted using the Edit | Undo menu option.
Updating workflows from the Workflows Manager
Open the Workflows Manager. A red message indicates which workflows need to be updated. Choose to update workflows one at a time with the Update... buttonthat appears when selecting a particular workflow, or all at once with the Update All Workflows button at the bottom of the Manager dialog (figure 11.60)
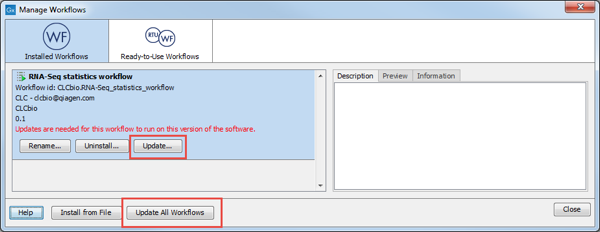
Figure 11.60: A message is shown indicating that a workflow needs to be updated.
Updating installed workflows within the same major release line
A workflow has a version. The version is used to make it easy to distribute an improved version of the same workflow. To do this, create a new installer with an incremented version number. In order to install a new and updated version, the old one has to be uninstalled.
|
"Major release line" refers to the first digit in the version number. For example: CLC Genomics Workbench 10.0.1 and 10.5 are releases within the same major release line (10). CLC Genomics Workbench 9.x is is part of a different major release line than 10.x because the major version number is different (9 versus 10). |
You can update installed workflows within the same major release line using the Workflow Manager tool. To update a workflow you must have permission to write to the area the workflow is stored in. For workflows you installed directly, you will normally be able to do this when running the Workbench as you usually do. To update workflows distributed via plugins, it will usually mean running the Workbench as an administrative user.
Updating installed workflows between major release lines
To update a workflow between major release lines, a Workbench version the installed workflow can be run on is needed, as well as the latest version of the Workbench.
To start, open a copy of the installed workflow in a version of the Workbench it can currently be run on. This is done by selecting the workflow in the Installed Workflows folder of the Toolbox in the bottom left side of the Workbench, then right-clicking on the workflow name and choosing the option "Open Copy of Workflow" (figure 11.61).
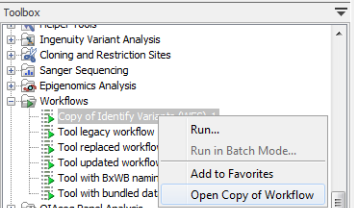
Figure 11.61: Open a copy of an installed workflow by right-clicking on its name in the Workbench Toolbox.
Save the copy of the workflow in the Navigation Area. To do this, you can simply drag and drop the tab to the location of your choice in the Navigation Area.
Open the new version of the Workbench and there, open the workflow that was saved in the Navigation Area. Click on the OK button if you are prompted to update the workflow.
You can now check that the workflow has been updated correctly, including that any reference data is configured as expected. Then save the updated version of the workflow. Finally, click the Installation button to install the worfklow, if desired.
If the above process does not work when upgrading directly from a much older Workbench version, it may be necessary to upgrade step-wise by upgrading the workflow in sequentially higher major versions of the Workbench.