Add Fold Changes
With this tool you can add the expression fold changes to your variants. You will create a copy of the input variant track and add the gene name and expression fold changes to this track. When you have added the expression fold changes to the variant track, they can be seen in the tooltip when you zoom all the way in on the individual variants or in the table view.
To add fold changes, go to the toolbox:
Toolbox | Legacy tools | Add Fold Changes (![]() )
)
If you are connected to a server, you will first be asked where you would like to run the analysis. Next, you will be asked to select the variant track that you would like to add fold changes to (figure 33.16). To select the variant track, double-click on the file name or click once on the file and then on the arrow pointing to the right side in the middle of the wizard. Click on the button labeled Next.
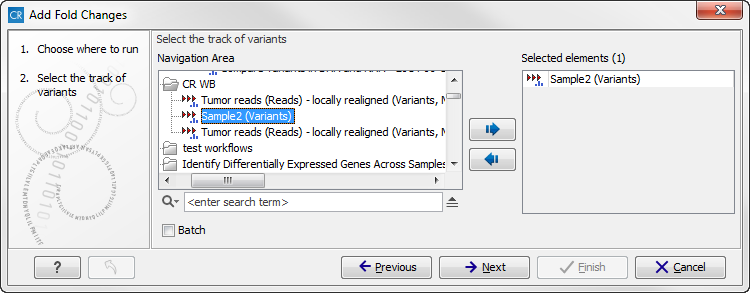
Figure 33.16: Select the variant track.
In the next step you can choose the fold change track (see figure 33.17).
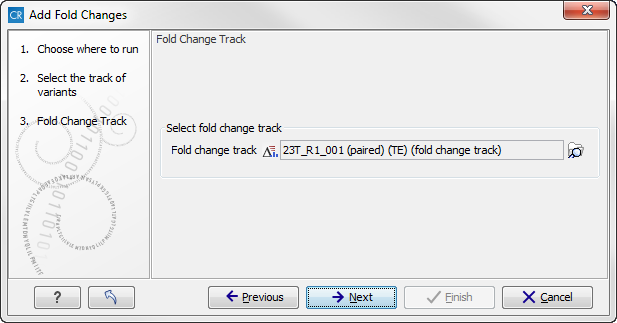
Figure 33.17: Select the fold change track.
Click on the button labeled Next, choose to save the results and click Finish.
The generated output is a variant track.If you open the variant track in table view by clicking on the table icon (![]() ) in the lower left corner of the View Area, you can see in the Side Panel under Table Settings that "Fold change" and "Gene" have been added to the list. If you would like to look into the numbers behind the fold changes, you can see the expression values in the original fold change file that was used as input in the "Add Fold Changes" analysis.
) in the lower left corner of the View Area, you can see in the Side Panel under Table Settings that "Fold change" and "Gene" have been added to the list. If you would like to look into the numbers behind the fold changes, you can see the expression values in the original fold change file that was used as input in the "Add Fold Changes" analysis.