Toolbox | Cloning and Restriction Sites (![]() )| Gateway Cloning (
)| Gateway Cloning (![]() ) | Create Entry Clone (
) | Create Entry Clone (![]() )
)
This will open a dialog where you can select one or more sequences that will be the sequence of interest to be recombined into your donor vector. Note that the sequences you select should be flanked with attB sites (see Add attB sites). You can select more than one sequence as input, and the corresponding number of entry clones will be created.
When you have selected your sequence(s), click Next.
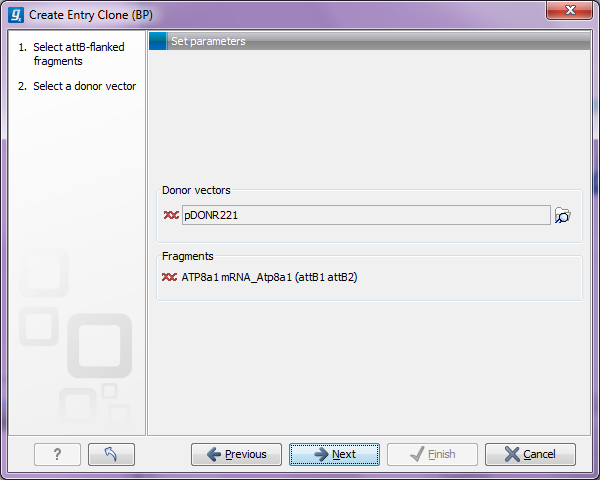
This will display the dialog shown in figure 30.22.

Figure 30.22: Selecting one or more donor vectors.
Clicking the Browse (![]() ) button opens a dialog where you can select a donor vector. You can download donor vectors from Invitrogen's web site: http://tools.invitrogen.com/downloads/Gateway%20vectors.ma4 and import into the CLC Cancer Research Workbench. Note that the Workbench looks for the specific sequences of the attP sites in the sequences that you select in this dialog (see how to change the definition of sites in Technical information about modifying Gateway cloning sites). Note that the CLC Cancer Research Workbench only checks that valid attP sites are found - it does not check that they correspond to the attB sites of the selected fragments at this step. If the right combination of attB and attP sites is not found, no entry clones will be produced.
) button opens a dialog where you can select a donor vector. You can download donor vectors from Invitrogen's web site: http://tools.invitrogen.com/downloads/Gateway%20vectors.ma4 and import into the CLC Cancer Research Workbench. Note that the Workbench looks for the specific sequences of the attP sites in the sequences that you select in this dialog (see how to change the definition of sites in Technical information about modifying Gateway cloning sites). Note that the CLC Cancer Research Workbench only checks that valid attP sites are found - it does not check that they correspond to the attB sites of the selected fragments at this step. If the right combination of attB and attP sites is not found, no entry clones will be produced.
Below there is a preview of the fragments selected and the attB sites that they contain. This can be used to get an overview of which entry clones should be used and check that the right attB sites have been added to the fragments.
Click Next if you wish to adjust how to handle the results. If not, click Finish.
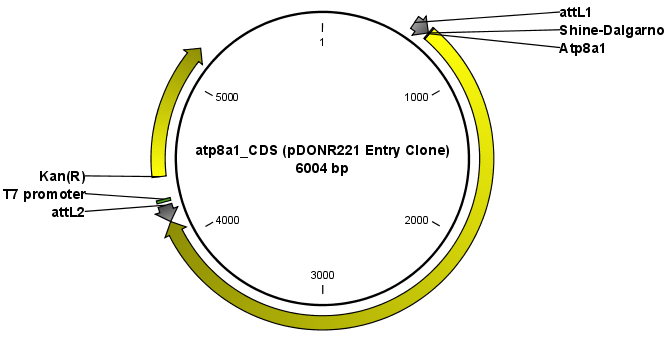
The output is one entry clone per sequence selected. The attB and attP sites have been used for the recombination, and the entry clone is now equipped with attL sites as shown in figure 30.23.

Figure 30.23: The resulting entry vector opened in a circular view.
Note that the bi-product of the recombination is not part of the output.