Run the Identify and Annotate Variants (WES) workflow
To run the Identify and Annotate Variants (WES) workflow, go to:
Workflows | Template Workflows | Biomedical Workflows (![]() ) | Whole Exome Sequencing (
) | Whole Exome Sequencing (![]() ) | Somatic Cancer (
) | Somatic Cancer (![]() ) | Identify and Annotate Variants (WES) (
) | Identify and Annotate Variants (WES) (![]() )
)
- Double-click on the workflow name to start the analysis. If you are connected to a server, you will first be asked where you would like to run the analysis.
- First select the sequencing reads from the sample that should be analyzed (figure 19.38).
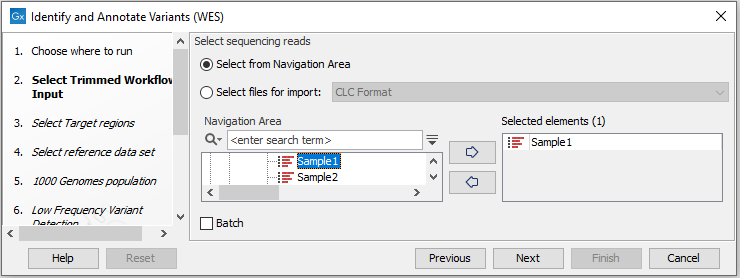
Figure 19.38: Select all sequencing reads from the sample to be analyzed.If several samples should be analyzed, the tool has to be run in batch mode. This is done by checking "Batch" and selecting the folder that holds the data you wish to analyze.
- In the Target regions dialog (figure 19.39), you
can specify the target regions track. Only variants within the specified regions will be detected.
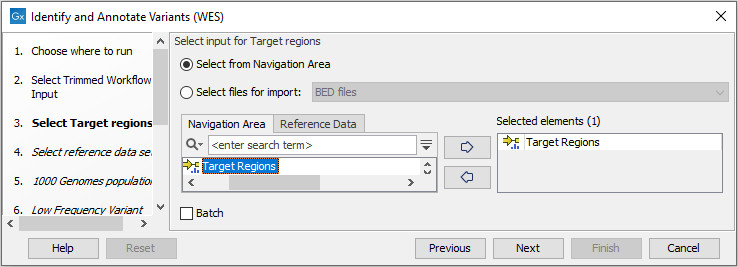
Figure 19.39: Specify the target regions. - In the next dialog, you have to select which reference data set should be used to identify and annotate variants (figure 19.40).
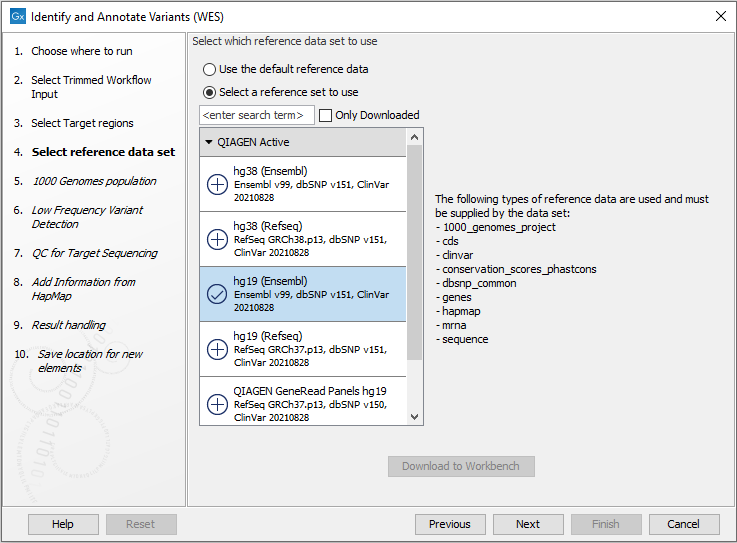
Figure 19.40: Choose the relevant reference Data Set to identify and annotate. - In the next wizard step (figure 19.41) you can select the population from the 1000 Genomes project that you would like to use for annotation.
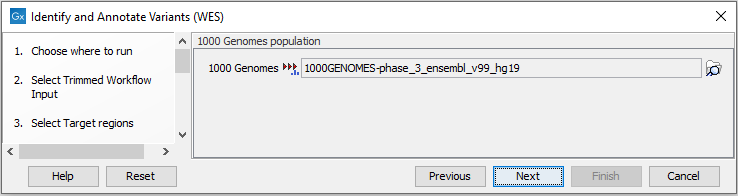
Figure 19.41: Select the population from the 1000 Genomes project that you would like to use for annotation. - In the next dialog (figure 19.42), you have to specify the parameters for the variant detection.

Figure 19.42: Specify the parameters for variant calling.For a description of the different parameters that can be adjusted, see http://resources.qiagenbioinformatics.com/manuals/clcgenomicsworkbench/current/index.php?manual=Low_Frequency_Variant_Detection.html. If you click on "Locked Settings", you will be able to see all parameters used for variant detection in the template workflow.
- In the QC for Target Sequencing step (figure 19.43) you can specify the minimum read coverage that should be present in the targeted regions.
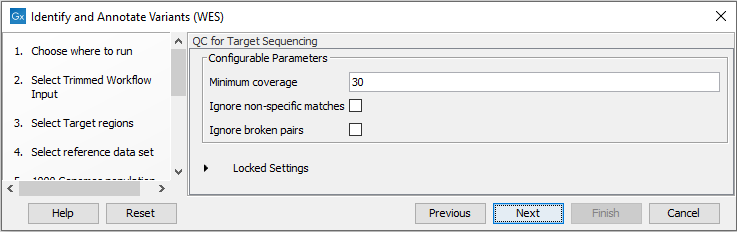
Figure 19.43: Set the coverage threshold for the QC of the Targeted sequencing. - Finally, select a population from the HapMap database (figure 19.44). This will add information from the Hapmap database to your variants.

Figure 19.44: Select a population from the HapMap database to add information from the Hapmap database to your variants. - In the last wizard step you can check the selected settings by clicking on the button labeled Preview All Parameters.
In the Preview All Parameters wizard you can only check the settings, and if you wish to make changes you have to use the Previous button from the wizard to edit parameters in the relevant windows.
- Choose to Save your results and click Finish.