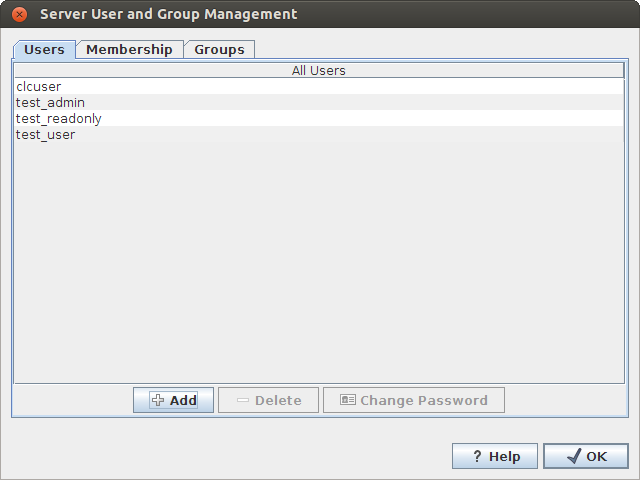
Figure 4.7: Managing server users via a CLC Workbench
Users and groups can be managed through the Workbench by logging into the CLC Server as an administrative user and then going to the Workbench menu:
File | Manage Server Users and Groups
This will display the dialog shown in figure 4.7.
Figure 4.7: Managing server users via a CLC Workbench
Click on the Add (![]() ) button to create a new user. Enter the name of the user and enter a password. You will be asked to re-type the password. If you wish to change the password at a later time, select the user in the list and click Change password (
) button to create a new user. Enter the name of the user and enter a password. You will be asked to re-type the password. If you wish to change the password at a later time, select the user in the list and click Change password (![]() ).
).
To delete a user, select the user in the list and click Delete (![]() ).
).
Access rights are granted to groups, not users, so a user has to be a member of one or more groups to get access to the data location.
Adding and removing groups is done in the Groups tab (see figure 4.8).
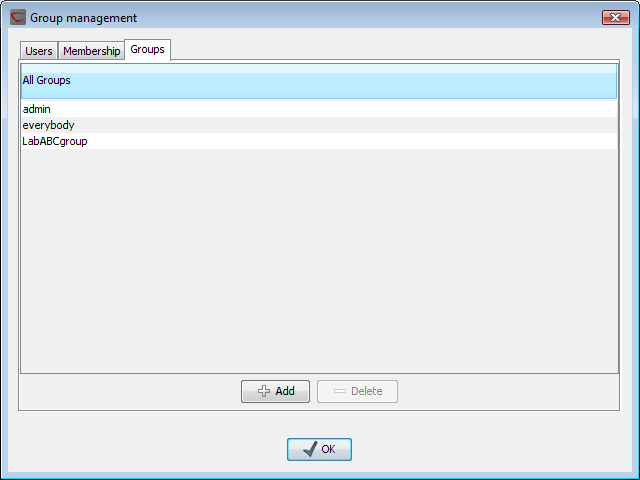
Figure 4.8: Managing server groups via a CLC Workbench
To create a new group, click the Add (![]() ) button and enter the name of the group. To delete a group, select the group in the list and click the Delete (
) button and enter the name of the group. To delete a group, select the group in the list and click the Delete (![]() ) button.
) button.
When a new group is created, it is empty. To assign users to a group, click on the Membership tab. In the Selected group box, you can choose among all the groups that have been created. When you select a group, you will see its members in the list below (see figure 4.9). To the left you see a list of all users.
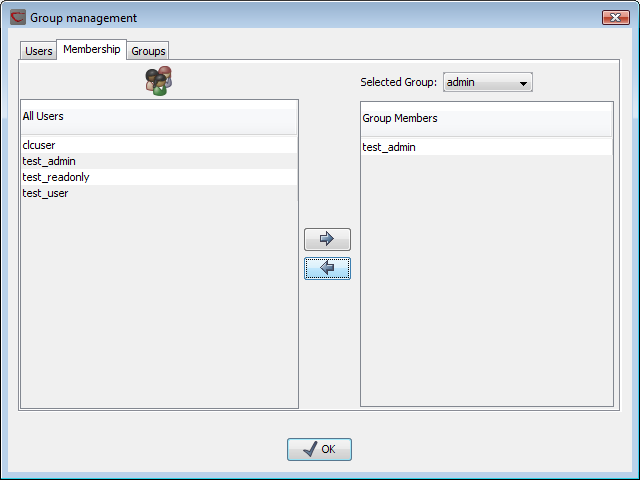
Figure 4.9: Listing members of a group.
To add users to or to remove users from a group, click on the Add (![]() ) or Remove (
) or Remove (![]() ) buttons. To create new users, see Managing users.
) buttons. To create new users, see Managing users.