How to run the Filter Somatic Variants (WGS) workflow
To run the Filter Somatic Variants (WGS) tool, go to:
Toolbox | Ready-to-Use Workflows | Whole Genome Sequencing (![]() ) | Somatic Cancer (
) | Somatic Cancer (![]() ) | Filter Somatic Variants (
) | Filter Somatic Variants (![]() )
)
- Double-click on the Filter Somatic Variants (WGS) tool to start the analysis. If you are connected to a server, you will first be asked where you would like to run the analysis.
- Next, you will be asked to select the variant track you would like to use for filtering somatic variants. The panel in the left side of the wizard shows the kind of input that should be provided (figure 12.13). Select by double-clicking on the reads file name or clicking once on the file and then clicking on the arrow pointing to the right side in the middle of the wizard.
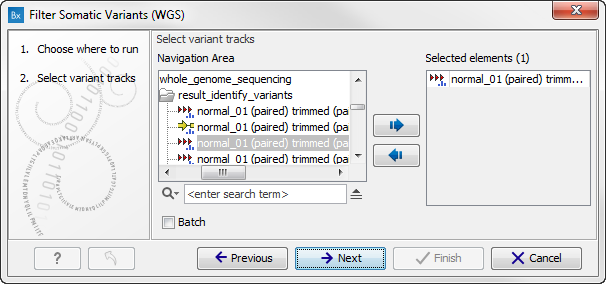
Figure 12.13: Select the variant track from which you would like to filter somatic variants.Click on the button labeled Next.
- In the next step you will be asked to specify which of the 1000 Genomes populations that should be used for annotation (figure 12.14).

Figure 12.14: Specify which 1000 Genomes population to use for annotation.Click on the button labeled Next.
- The next wizard step will once again allow you to specify the 1000 Genomes population that should be used, this time for filtering out variants found in the 1000 Genomes project (figure 12.15).
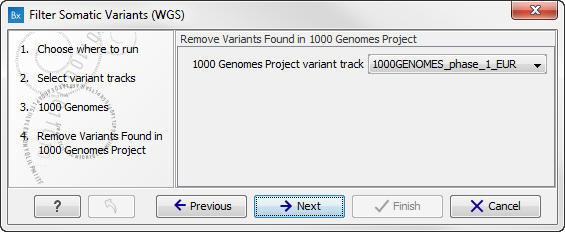
Figure 12.15: Specify which 1000 Genomes population to use for filtering out known variants.Click on the button labeled Next.
- The next wizard step (figure 12.16) concerns removal of variants found in the HapMap database. Select the population you would like to use from the drop-down list. Please note that the populations available from the drop-down list can be specified with the Data Management (
 ) function found in the top right corner of the Workbench (see Download and configure reference data).
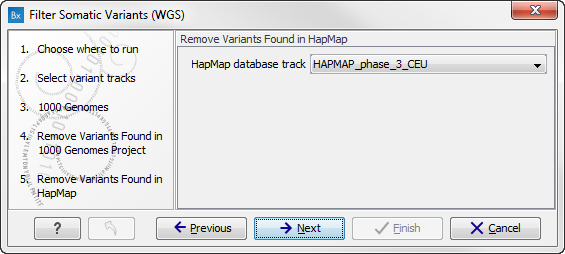
Figure 12.16: Specify which HapMap population to use for filtering out known variants. - Click on the button labeled Next to go to the last wizard step (shown in figure 12.17).
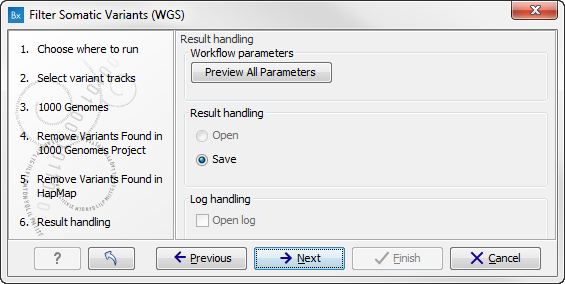
Figure 12.17: Check the selected parametes by pressing "Preview All Parameters".Pressing the button Preview All Parameters allows you to preview all parameters. At this step you can only view the parameters, it is not possible to make any changes. Choose to save the results and click on the button labeled Finish.